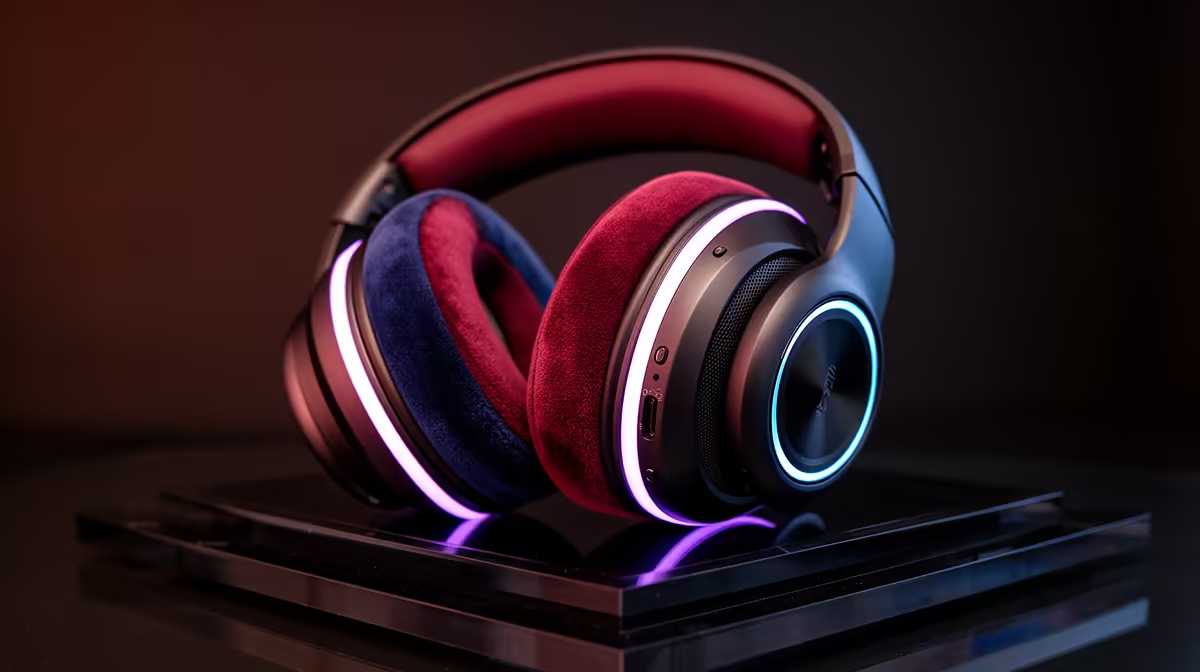
Fresh ear pads can restore comfort, seal and bass to a headset whose drivers still work well. The replacement also changes the acoustic chamber around your ear, so a thicker, firmer or more porous pad can alter frequency response, isolation, ANC and microphone sidetone.
Quick Answer
Identify the exact headset revision and remove one pad through the maker's clip, twist or adhesive method. Match mounting ring, inner opening, depth and material. Replace both sides as a pair, clean the baffle without touching the driver and test seal, balance and sound before discarding the originals.
Use Evetech's gaming-headset catalogue and current headset best sellers to compare the cost of a complete replacement. For pads, confirm exact-model availability with the headset maker or specialist supplier rather than assuming one size fits a product family.
Know When Pads Are Worn
Flattened foam brings the driver closer to your ear and reduces clamp distribution. Cracked leatherette sheds flakes and leaks air. Fabric can hold oil and lose its original shape.
Compare left and right thickness. Uneven compression can shift image and comfort. Glasses can create a permanent seal gap, while a pad that no longer rebounds after a night off is near the end of its useful life.
Clean removable covers only when the maker allows it. A surface wash cannot restore collapsed foam.
Match the Mount
Some pads stretch over a lip. Others clip into a plastic ring, rotate on tabs or use adhesive. The same headset name can have wired, wireless and revised shells with different mounts.
Check outer dimensions, inner opening and depth. A small opening can touch the pinna. A deeper pad can reduce treble or bass depending on driver and seal. A universal oval pad needs the correct adapter and may change the sound more than an OEM part.
ANC headsets are sensitive to chamber volume and leakage. Use a pad specified for the model when noise cancellation and transparency accuracy matter.
Remove the Old Pad
Switch the headset off and disconnect cables. Photograph the seam and mounting orientation. Work over a clean table so a clip cannot disappear.
For a clip ring, start at the documented notch with a plastic tool and release tabs one by one. For a twist mount, rotate in the marked direction without bending the cup. For a stretched skirt, roll the material off the lip rather than pulling the foam.
Adhesive pads need gentle heat only if the manufacturer says so. Avoid solvent near driver diaphragms, plastics and batteries.
Clean the Cup Safely
Lift loose hair and dust with a soft brush. Keep debris from falling through the driver mesh. Do not press or vacuum the diaphragm.
Wipe the mounting rim with a barely damp lint-free cloth or the approved cleaner. Remove adhesive residue through the pad maker's method. Keep alcohol away from printed finishes and coatings unless authorised.
Inspect the protective mesh and foam. Replace those layers only with exact acoustic parts. A missing inner foam can make treble harsh and expose the driver.
Install Both New Pads
Align seams, thicker sections and orientation marks. Seat every clip or stretch the skirt evenly around the lip. Run a finger around the mount to find gaps.
Replace both sides even when one looks better. Mixed old and new compression creates uneven distance and seal. Keep the old pair labelled until the new set passes.
Wear the headset for an hour. Check pressure around glasses, jaw movement and whether your ears touch the driver cover. New foam can soften after several sessions.
Recheck the Sound
Play a familiar vocal and bass sweep at safe volume. Loss of bass often means a seal gap or incomplete mount. A left-right tonal difference suggests one pad is twisted, not clipped or compressed by glasses.
Run ANC calibration if the official app provides it. Test transparency, sidetone and boom-mic position because thicker pads move the cup and mic relative to your head.
Do not EQ before confirming fit. Once the seal is stable, a small profile adjustment can compensate for a third-party material.
Choose Material for the Room
Leatherette and protein-leather-style pads can seal strongly and preserve bass, while trapping more heat. Velour and breathable fabric feel cooler but may leak bass and outside sound. Hybrid designs try to combine a sealed sidewall with a fabric face.
Cooling gel adds mass and feels cool at first, then reaches body temperature. Memory foam density changes clamp distribution. None is universally better.
For a hot South African room, breathable comfort may outweigh perfect stock tuning. For noisy travel, the original seal may matter more. Choose the tradeoff deliberately.
Maintain the New Pair
Wipe skin oil after long sessions with the approved dry or damp method. Let pads air before storing. Avoid direct sun, heaters and alcohol wipes that dry synthetic leather.
Do not hang the headset on a stand wider than your head for months because it can compress pads and stretch clamp. Store it without crushing the cups together.
Keep the purchase date and part number. When the model leaves production, a spare genuine pair can extend headset life, but storage heat can age unused synthetic material too.
FAQ
Do replacement pads change headset sound?
They can change seal, driver distance and cavity volume, affecting bass, treble, isolation and ANC.
Can I replace only the damaged side?
Replace both as a matched pair so thickness, material and acoustic seal stay balanced.
Are universal pads safe for any headset?
They can fit through an adapter, but dimensions and acoustics may change. Exact-model pads are the cleaner starting point.
Match the pad mount and acoustic dimensions to the exact headset, replace both sides and prove seal, balance, ANC and comfort before adding EQ.