A photo of people sitting indoors and a clip of a dog running across a park need different settings. The iPhone 14 camera settings for best quality start with what you're trying to keep sharp, what light you have and where the video will end up. Try the change on a short clip before committing your phone storage to it.
Quick Answer
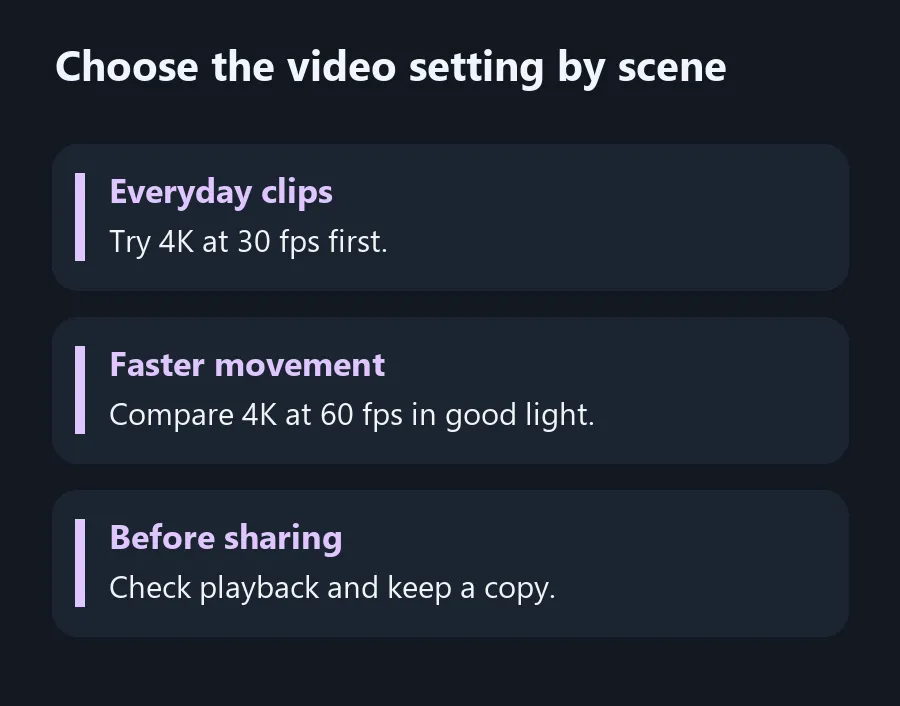
Start with the main camera in good light and try 4K at 30 fps for everyday detail. Choose 4K at 60 fps when you want smoother motion and have enough light and storage. Changing the settings and testing a clip costs R0.
📷 Set up photos first
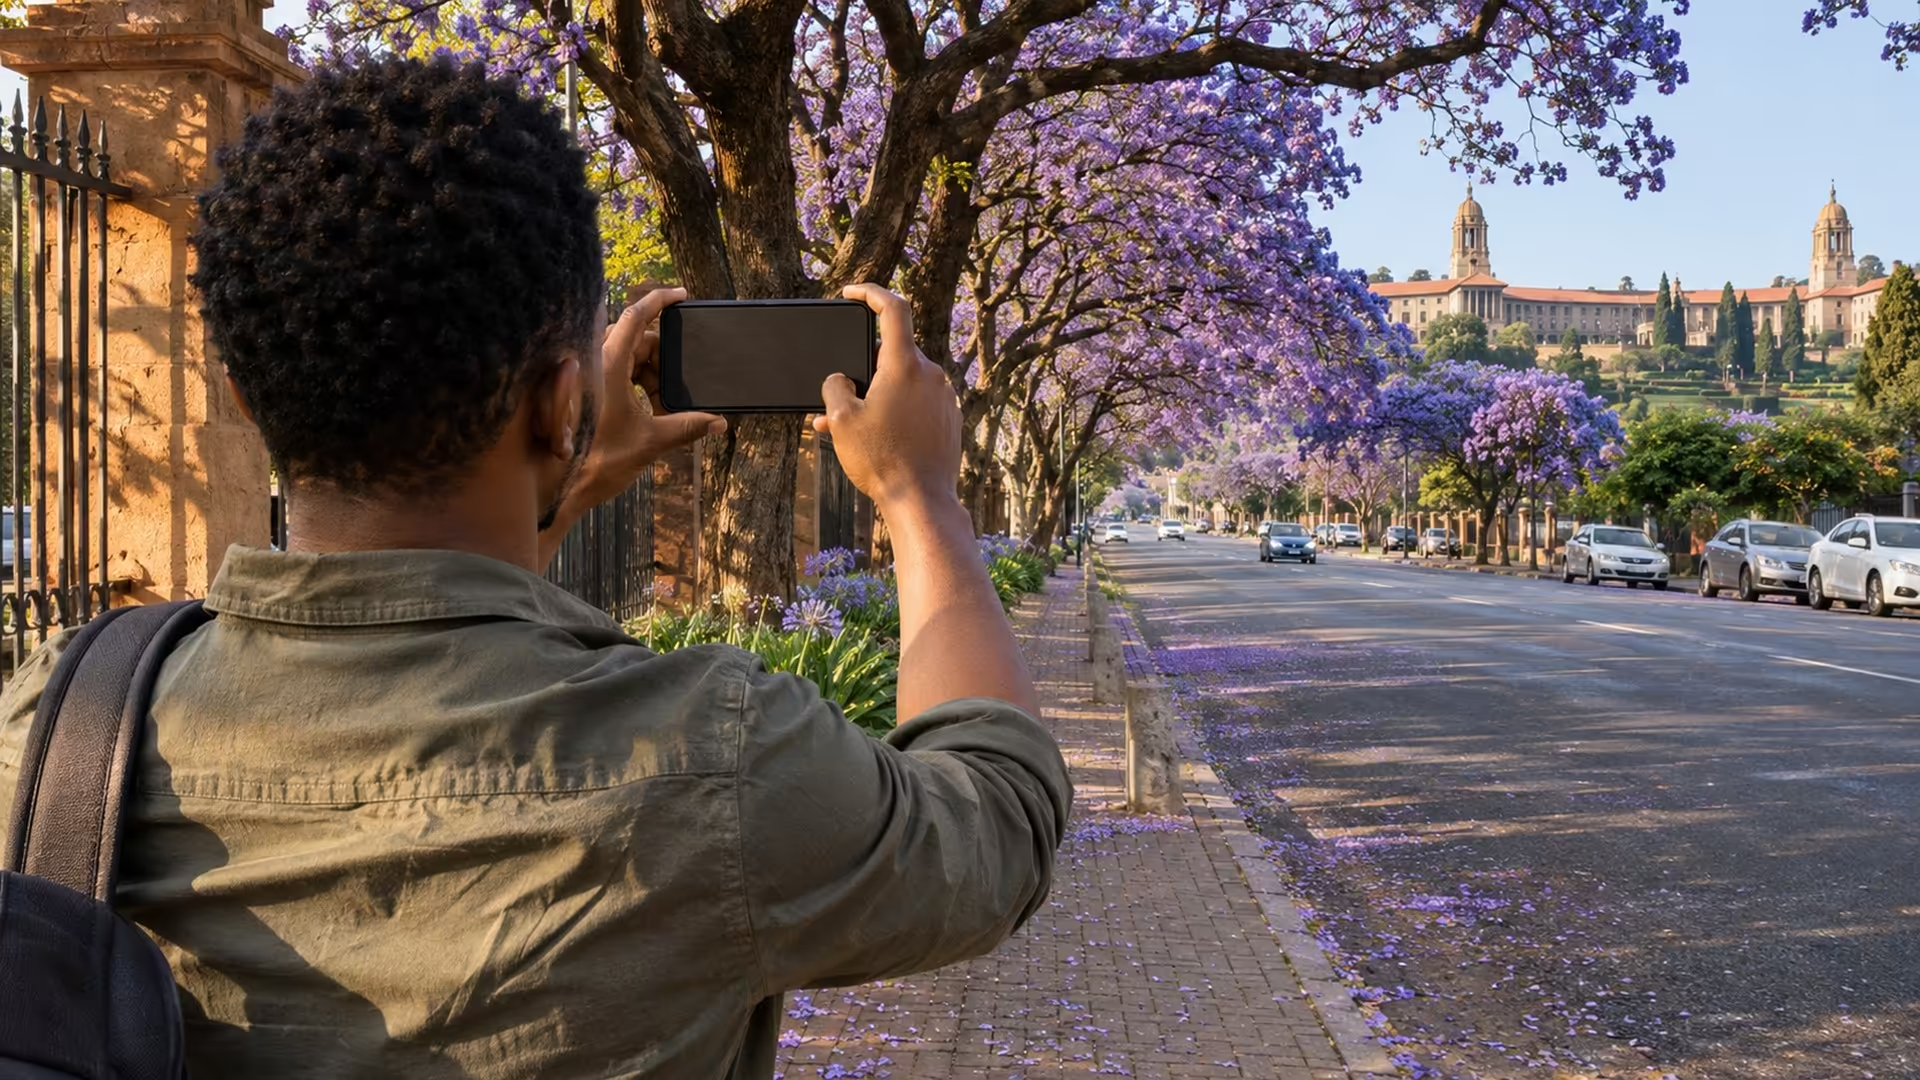
Open Camera and use the main lens for a general shot. On the standard iPhone 14 that is a 12MP camera. Move closer if you can do it safely and compare the result before relying on digital zoom. Tap the subject on screen and look for details that help you judge focus, such as the nearest eye in a portrait or the lettering on a sign. Read the preview before everyone leaves the scene.
Take a second photo in the light you actually have. Move the subject a little closer to a window indoors and check which direction the light comes from. For a selfie with a bright window behind you, try turning toward the window. Adjusting your position can help keep the face legible without sending you back to the settings menu.
🎥 Match the video mode to what moves
Apple lists 24, 25, 30 and 60 fps at 4K on the standard model. Use a short comparison to choose. A held camera and a subject in normal daylight make it easier to see what's changed. If you want more motion detail, play a 60 fps clip and a 30 fps clip side by side. When a room is dim, compare how clean both clips look before recording an entire event.
Open Settings and find Record Video under Camera, or check the mode controls on the camera if available. If you can choose HDR recording, consider where the clip will play and make a test share to the same destination. Play the test clip on the screen your viewer will use before sending the final version. Keep the original if the event matters to you.
🗂️ Leave room for the pictures
Use Preserve Settings to keep a chosen control between sessions where iOS offers that option. Open Camera again after changing it and check what the phone retained. Save the options you use regularly so a quick photo starts in a familiar mode, then change only what you need for that shot.
If you record something you'll keep, check the free storage before you start and move copies to a computer after you finish. Compare Apple Accessories for compatible transfer accessories and External SSDs if you want a separate copy on your computer. Check that the copied clip plays before you free space on the phone. When you plan to send a large clip from mobile data, decide whether you need to upload the original or can share a smaller copy while retaining it separately.
Frequently Asked Questions
What is a practical iPhone 14 video setting?
Try 4K at 30 fps as an everyday starting point and test it with your subject and light.
When should I use 4K at 60 fps?
Use it when smoother motion matters and you have enough light, storage and a suitable playback destination.
Can I use the same settings for selfies?
Set the scene first by facing useful light. Then check focus and exposure in the preview.
Does the regular iPhone 14 have a 48MP main camera?
No. Apple lists a 12MP main camera on the standard iPhone 14.
How can I keep settings after closing Camera?
Look in Settings, Camera, Preserve Settings and turn on the options you want the phone to retain.
What should I do before deleting large clips?
Save a copy elsewhere and play it through to confirm it transferred.
Choose the video setting by scene
Choose video settings for the scene and check the clip before using mobile data to share it.