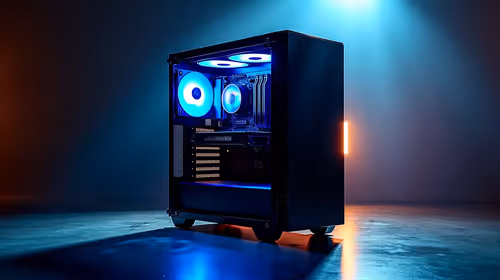
Unleash Your Intel Arc Notebook: RAM & Storage Upgrades for SA Gamers 🇿🇦
Ever felt that pang of frustration when your favourite game stutters, or you hit "disk full" trying to install the latest AAA title? You're not alone, boet. Many South African gamers and power users find their Intel Arc notebooks, while powerful, can feel a bit constrained over time. The good news? You don't always need a brand-new machine to keep up. Often, a simple RAM or storage upgrade can breathe new life into your Intel Arc notebook, transforming it from good to phenomenal. Let's dive into how you can boost your rig right here in Mzansi.
Why Upgrading RAM and Storage in Your Intel Arc Notebook Makes Sense
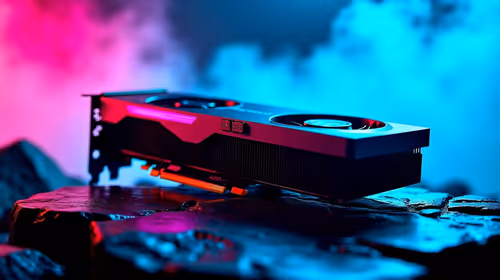
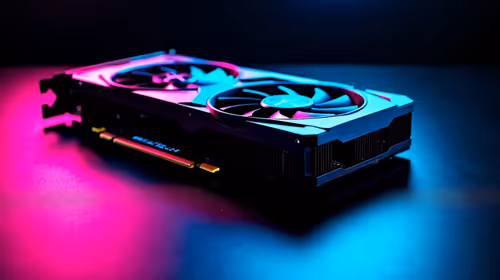
Your Intel Arc graphics card is a beast, but it needs a solid foundation. Insufficient RAM can bottleneck even the most powerful GPU, leading to longer loading times, choppy gameplay, and sluggish multitasking. Similarly, a cramped or slow storage drive means more waiting and less playing. By learning how to upgrade RAM and storage in your Intel Arc notebook, you're not just adding components; you're unlocking its full potential. Imagine faster boot-ups, seamless switching between apps, and enough space for every game from Evetech's latest gaming laptop deals lineup. It’s about smart performance optimisation without breaking the bank.
Essential Preparations Before You Upgrade Your Intel Arc Notebook
Before you even think about cracking open your laptop, a little prep goes a long way. First, back up all your critical data! You never know what can happen. Next, research your specific Intel Arc notebook model. Check its maximum RAM capacity and the type of RAM it uses (DDR4 or DDR5 SODIMM). For storage, confirm if it supports an additional NVMe M.2 SSD or if you'll be replacing the existing one. You'll also need a small Phillips head screwdriver, an anti-static wrist strap, and perhaps a plastic pry tool.
Check Your Warranty First!
Before you grab that screwdriver, always check your notebook's warranty. Some manufacturers might void it if you open the chassis, while others, like many modern brands, allow user-upgradable components. Better safe than sorry!
Boosting Performance: How to Upgrade RAM in Your Intel Arc Notebook 🔧
Upgrading RAM is often the easiest and most impactful upgrade.
- Power Down & Disconnect: Turn off your notebook completely, unplug the power adapter, and remove any external devices. Hold the power button for 15 seconds to discharge residual power.
- Access the Internals: Carefully unscrew the bottom panel of your Intel Arc notebook. Use your plastic pry tool if needed to gently unclip it.
- Locate RAM Slots: You'll see one or two SODIMM RAM sticks. Note the small clips holding them in place.
- Remove Old RAM (if applicable): Gently push the clips outwards. The RAM stick will pop up at an angle. You can then slide it out.
- Install New RAM: Align the notch on your new RAM stick with the notch in the slot. Push it in firmly at an angle, then push it down until the clips snap into place. If you're looking for new Intel laptops that come with ample RAM already, check out Evetech's Intel laptop specials.
- Reassemble: Carefully reattach the bottom panel and screw it back on.
After booting up, your system should automatically detect the new RAM. You can verify this in your system settings.
Expanding Your Digital World: How to Upgrade Storage in Your Intel Arc Notebook ⚡
Adding more storage means more games, more projects, and less worrying about space. Most modern Intel Arc notebooks use NVMe M.2 SSDs.
- Repeat Steps 1 & 2 from RAM Upgrade: Power down, disconnect, and open the chassis.
- Locate SSD Slot(s): Find the M.2 slot(s). Sometimes there's an empty secondary slot, or you'll be replacing the primary drive.
- Remove Old SSD (if replacing): Unscrew the small screw holding the SSD in place. The drive will pop up. Gently pull it out of the slot.
- Install New SSD: Insert your new NVMe M.2 SSD into the slot, ensuring the notch aligns. Push it down and secure it with the small screw.
- Reassemble: Close up your notebook.
Post-Installation: If you replaced your primary drive, you'll need to reinstall Windows. If you added a secondary drive, you'll need to initialise and format it in Disk Management (Windows) before it appears in "My Computer." This is a fantastic way to offload your game library without affecting your primary OS drive.
The Final Polish: Enjoying Your Upgraded Intel Arc Notebook ✨
Once your RAM and storage upgrades are complete, fire up your favourite game or demanding application. You should immediately notice snappier performance, quicker loading times, and the pure joy of having space to spare. Remember, while upgrading your current machine is a smart move, sometimes a new machine offers the latest tech. If your current Intel Arc notebook is getting long in the tooth, or you're considering a different platform, browse Evetech's latest AMD laptops on special for comparison.
An Intel Arc notebook upgrade isn't just about components; it's about extending your machine's lifespan and enhancing your entire computing experience. It’s a worthwhile investment for any South African tech enthusiast looking to get more out of their gear.
Ready for a Boost or a Brand-New Rig?
Whether you're upgrading your current setup or eyeing a fresh start, Evetech has the components and laptops you need to dominate. Shop now at Evetech for performance that leaves lag in the dust.