You’ve just dropped your hard-earned cash on a shiny new editing rig under R30,000. You fire up Premiere Pro, drag a 4K clip to the timeline… and it stutters. What gives? Before you blame your hardware, the secret to unlocking its true power might be hiding in plain sight. We're talking about the BIOS, and finding the best BIOS settings for your editing PC can deliver a performance boost that feels like a free upgrade. Let's dive in and tweak your machine for peak creative performance. 🚀
What is the BIOS and Why Should SA Editors Care?
Think of the BIOS (or its modern successor, UEFI) as the foundational control panel for your PC's hardware. It’s the first thing that loads when you power on your machine, telling your CPU, RAM, and storage how to talk to each other.
For video editors, photographers, and 3D artists in South Africa, this isn't just tech jargon. It's where you can directly influence performance. Default settings are designed for broad compatibility, not maximum power. By making a few smart adjustments, you can ensure your components are running at their advertised speeds, leading to smoother timeline scrubbing, faster renders, and less time staring at progress bars. Optimising your BIOS is a critical step, especially when squeezing every drop of performance from a sub-R30k build.
Key BIOS Settings for Editing PCs Under R30k
Before you start, remember to only change one setting at a time and test for stability afterwards. A quick render in your favourite application or a run of a benchmark like Cinebench is perfect. Now, let's find the best BIOS settings for your editing PC.
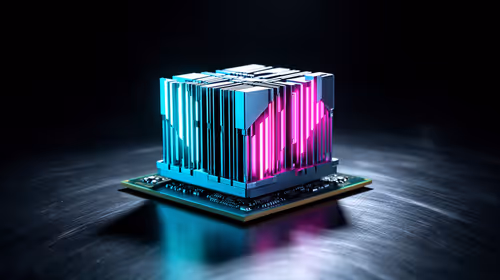
1. Enable XMP, DOCP, or EXPO for Faster RAM ⚡
This is the single most important tweak you can make. Your RAM almost never runs at its advertised speed out of the box. Enabling its "Extreme Memory Profile" (XMP for Intel) or the AMD equivalent (DOCP/EXPO) is like taking the handbrake off your system.
Faster RAM directly impacts how quickly your CPU can access data, which is vital for video editing. You’ll feel the difference when scrubbing through high-resolution footage or multitasking with several creative apps open. Many affordable budget gaming PCs come with fast RAM, but you won't see the benefit until you enable its profile in the BIOS.
2. Set an Aggressive Fan Curve for Cooler Temps
Video rendering is a marathon, not a sprint. It punishes your CPU for extended periods, generating a lot of heat. If your CPU gets too hot, it "thermal throttles," automatically reducing its speed to protect itself. The result? Your render times get longer.
Dive into your BIOS's fan control section (often called "Q-Fan," "Smart Fan," or similar) and switch from the "Silent" or "Standard" profile to "Turbo" or "Full Speed." Even better, create a custom curve that ramps the fans up aggressively once the CPU hits around 60-70°C. A cool CPU is a fast CPU, a crucial factor even when building powerful custom PCs under R20k where cooling solutions might be more modest.
Firmware First! 🔧
Before you tweak anything, make sure your BIOS is up to date! Manufacturers often release updates that improve system stability, memory compatibility, and even patch security holes. Head to your motherboard manufacturer's website, find your model, and grab the latest version. It’s a simple step that can prevent a world of headaches.
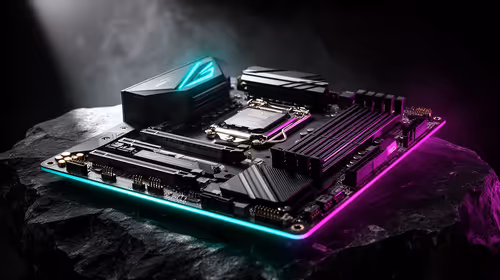
3. Unleash Your CPU: PBO for AMD & Power Limits for Intel
Here's where we unlock your processor's true potential. The approach differs slightly between brands.
- For AMD Ryzen: Look for "Precision Boost Overdrive" (PBO) and set it to "Enabled" or "Advanced." This feature allows the CPU to intelligently boost its clock speeds higher and for longer, as long as thermal and power limits allow. It’s a safe, automated overclock that provides a noticeable boost in multi-threaded tasks like exporting video. Many of our pre-built PC deals with AMD CPUs can see an immediate benefit from this simple change.
- For Intel: Intel CPUs are often limited by their power settings (PL1/PL2). On motherboards with decent cooling and power delivery (common on systems configured as powerful PCs above R20k), you can often raise or even disable these limits. This allows the CPU to maintain its maximum turbo boost indefinitely during a long render, dramatically cutting down wait times. Use this with caution and monitor your temperatures closely.
Stability is King for Creative Workflows ✨
While pushing for maximum performance is tempting, stability is paramount for an editing PC. A crash mid-render can cost you hours of work. The goal of finding the optimal BIOS settings for video editing is to find a perfect balance between speed and rock-solid reliability.
After making your changes, run a stability test. A 30-minute Cinebench loop or exporting a complex 15-minute project from your timeline is a great real-world test. If it passes without crashing, you’ve found a stable configuration. Remember, many of the best gaming PC deals make for excellent editing rigs precisely because they are built with stable, high-performance components designed to run under load for hours.
By investing a little time in the BIOS, you can transform your sub-R30k editing PC from a capable machine into a creative powerhouse, ensuring you get every Rand's worth of performance.
Ready to Build Your Ultimate Editing Rig? Optimising your BIOS is a great start, but the right components make all the difference. Whether you're upgrading or starting fresh, Evetech has the hardware you need. Explore our massive range of PC components and build the machine your creativity deserves.