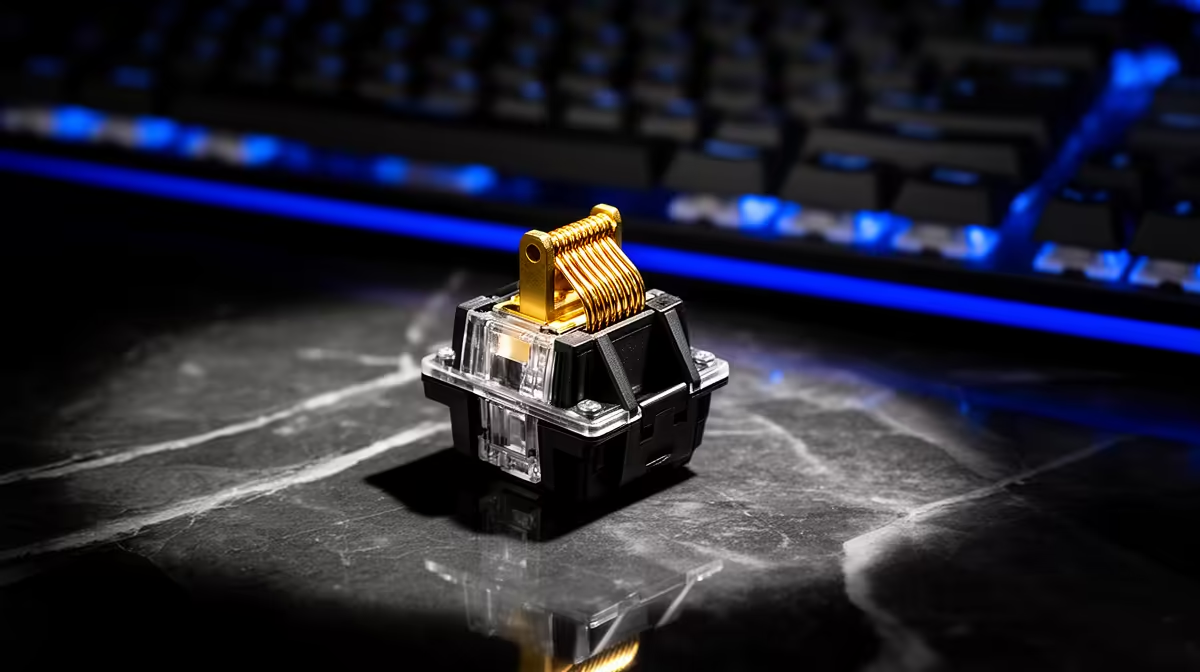
A rattling spacebar usually comes from movement between the stabiliser wire, stem and housing. The large key exposes tiny clearances that a normal one-unit key hides. Lubrication can calm wire tick, but clipping and padding every stabiliser is old blanket advice that can damage a modern design.
Quick Answer
Remove the keycap and identify whether the stabiliser is plate-mounted, PCB clip-in or screw-in. Test the wire and each side before dismantling the keyboard. Add a controlled amount of suitable lubricant at the wire contact points. Clip feet only when that exact stabiliser has the old protrusions the modification was designed to remove.
Evetech's linked peripheral best sellers and gaming-accessory range help compare the rest of the desk setup. For a replacement keyboard, inspect its stabiliser type, hot-swap support and service access rather than trusting a broad premium label.
Identify the Noise
Tap the left and right ends of the spacebar separately. A metallic tick on one side can mean a wire end has dry or uneven contact. A loose plastic chatter can come from the housing moving in the plate. A hollow thock belongs to the case and keycap more than the stabiliser.
Hold the keycap down and move it side to side. Excess travel can show loose stem fit. Check whether the keycap is warped by placing it on a flat surface; a bent spacebar can refuse to seat evenly after perfect stabiliser work.
Record a short sound sample before changing anything. Use the same phone position and typing force for the after test. Memory is poor at comparing small acoustic changes across an hour of disassembly.
Learn the Stabiliser Type
Plate-mounted stabilisers clip into the switch plate and may be removable after the switch and keycap come out. PCB-mounted clip-in and screw-in units attach beneath the plate, so the keyboard may need full disassembly and switch removal.
Some prebuilt boards use proprietary plates, optical switches or sealed construction. Opening the case can affect warranty support or damage hidden clips. Check the service guide before reaching for a screwdriver.
Modern stabilisers often arrive with flat bottoms and no clip-worthy legs. The classic clipping mod targeted protruding feet on selected older Cherry-style inserts. Cutting a current housing can create wobble and cannot be reversed.
Start With the Least Invasive Fix
Remove the keycap with a wire puller, lifting both ends evenly. Clean dust and hair around the stabiliser with a soft electronics-safe method. Reseat the keycap and test, because a half-seated stem can sound like rattle.
Use a fine applicator to place a small amount of compatible lubricant where each metal wire enters and contacts the plastic stem. Thick dielectric grease is common on wire contact, while thinner switch lubricants suit plastic sliding surfaces. Material compatibility and quantity matter more than the product trend.
Press the key several dozen times to distribute the film. Add more only when the dry contact remains audible. Excess grease can make the return sluggish, migrate to the PCB and collect dust.
Balance the Wire
A bent stabiliser wire can tick because one end reaches the housing before the other. Remove it only through the stabiliser's documented process. Place it on a truly flat surface and tap each end to see whether it rocks.
Straightening takes small controlled bends and patience. Replace a badly twisted or plated wire rather than working it until it fatigues. Match wire size and key length to the stabiliser set.
Reinstall it in the same orientation, confirm both ends clip in and test without the keycap. The stems should rise together and return without binding.
Consider Housing Fit
Loose plate-mounted housings can chatter in an oversized cut-out. Thin purpose-made stabiliser pads or a reversible fitment can reduce movement, but extra material must not squeeze the housing or change key travel.
The old band-aid mod placed fabric beneath PCB-mounted stabilisers to soften bottom-out. It can absorb lubricant, change feel and create thickness problems. Many modern boards use pads or tuned housings already. Add material only after proving that housing-to-PCB impact is the noise.
Holee-style internal strips can reduce wire-to-stem clearance, but poor sizing makes the stabiliser slow or inconsistent. This is a full rebuild technique, not the first answer to a new keyboard.
Rebuild Methodically
Photograph the plate, wire orientation and screw positions. Disconnect mains or USB power. Keep screws sorted by length and avoid crushing a battery cable in a wireless board.
Test each stabiliser on the bare PCB or plate before rebuilding the case. Fit the switch and keycap, then press both edges. Fix one unit at a time so a good spacebar does not hide a newly binding Enter key.
Tighten screw-in stabilisers until secure without bowing the PCB. Insulating washers can be required by selected designs; use what the maker supplies.
Tune the Spacebar as a System
The keycap material and cavity shape dominate part of the sound. Foam inside a spacebar can lower pitch, but too much adds mass and slows return. Start with small removable pieces and keep them clear of the switch and stabiliser stems.
Switch spring weight affects return on a heavy keycap. If the spacebar rises slowly after stabiliser work, remove excess lubricant and added foam before buying a stronger switch.
Case foam and a desk mat change resonance across the whole keyboard. Use them when several large keys sound hollow, not as a substitute for a ticking wire.
Know When to Stop
A large key will sound different from letters because it moves more plastic and uses a wire. The goal is clean, consistent travel without distracting tick, rattle or binding. Chasing silence can make the key mushy.
If the board is new and one stabiliser sticks or arrived broken, use the proper support route before cutting or gluing it. Preserve the original condition, proof of purchase and a sound video.
For a soldered board with PCB-mounted stabilisers, professional service can cost less than repairing lifted pads or broken case clips after a first desoldering attempt.
FAQ
Should I clip every keyboard stabiliser?
No. Clip only the specific old-style feet the mod targets. Many current stabilisers have nothing appropriate to remove.
Can lubricant fix a bent wire?
It can mask some noise, but a poorly balanced wire needs careful straightening or replacement.
Why does only one end of the spacebar tick?
That end may have uneven wire contact, dry lubricant, poor seating or a warped keycap.
Identify the stabiliser and exact noise, start with cleaning and controlled wire lubrication, then balance or rebuild only the part the test proves is loose.