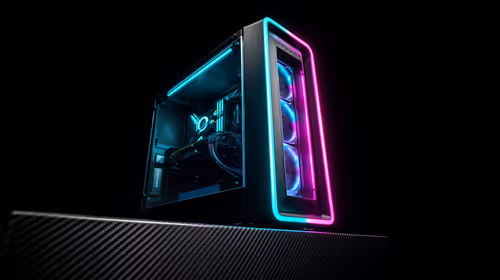
Staring at another loading screen in Warzone while your mates are already dropping in? That frustrating wait is often caused by an old, slow hard drive. The fix is simpler and more affordable than you think. Learning how to install an SSD for gaming is the single biggest upgrade you can make to your PC. This guide will walk you through the entire process, step-by-step, turning your rig into a lightning-fast machine. 🚀
First, Why Bother with a Gaming SSD Upgrade?
The benefits of moving to a solid-state drive go way beyond just faster game loads. Your entire PC experience gets a massive boost. Windows will boot in seconds, applications will snap open instantly, and in-game textures will load without that annoying pop-in effect. An SSD installation means less waiting and more playing. It's a quality-of-life improvement that transforms how your PC feels every single day. Take a look at the wide variety of SSDs available to see just how accessible this upgrade is.
Choosing Your Weapon: NVMe vs. SATA SSDs
Before you can install an SSD, you need to pick the right one for your setup. There are two main types you'll find today:
- NVMe M.2 SSDs: These look like small sticks of RAM and plug directly into your motherboard. They are incredibly fast, offering the best possible performance for booting your OS and loading demanding games. Check out our range of cutting-edge NVMe SSDs to see the latest tech.
- 2.5-inch SATA SSDs: These are the same shape and size as a traditional laptop hard drive and connect via a SATA cable. While not as fast as NVMe drives, they are still a monumental leap from a mechanical drive and offer fantastic value. They're a perfect choice for storing your game library. We have a huge selection of reliable 2.5-inch SSDs to fit any budget.
Before buying, double-check your motherboard's manual or product page to see which slots you have available.
Getting Ready: Pre-Installation Checklist
A little prep work makes the actual installation a breeze. Here’s what you need to do before you open your PC case.
- Tools: A simple Phillips-head screwdriver is usually all you need. An anti-static wrist strap is also a great idea to protect your components from static electricity.
- Back Up Your Data: This is crucial! Before you change any hardware, back up your important files and documents. If you're replacing one of your existing hard drives, make sure everything you want to keep is copied off it first.
- Plan Your Attack: Decide if you want to do a fresh installation of Windows on the new SSD (recommended for best performance) or clone your existing drive.
Cloning vs. Fresh Install 🤔
Cloning software copies your entire old drive to the new SSD, including Windows and all your files. It's convenient, but can sometimes carry over old system clutter. A fresh install of Windows is cleaner and often results in a snappier, more stable system. You'll just need to reinstall your apps and games afterwards.
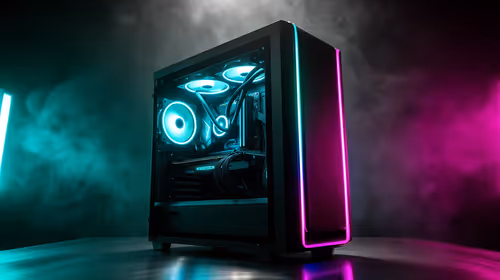
The Main Event: Your Step-by-Step SSD Installation Guide
Alright, let's get our hands dirty! This process is surprisingly quick.
Step 1: Power Down and Unplug
Shut down your PC completely. Switch off the power supply unit (PSU) at the back and unplug it from the wall. Press the power button on the case a few times to discharge any remaining electricity.
Step 2: Open Your Case and Locate the Slot
Place your PC on a flat, stable surface and remove the side panel.
- For an NVMe M.2 SSD: Look for a small, horizontal slot on your motherboard, usually labelled "M.2". There will be a tiny screw standoff nearby.
- For a 2.5-inch SATA SSD: Find a spare drive bay in your case. You'll also need to locate the SATA power cables from your PSU and the SATA data ports on your motherboard.
Step 3: Secure the Drive 🔧
- NVMe: Gently insert the drive into the M.2 slot at about a 30-degree angle. It should slide in easily. Then, press it down flat against the motherboard and secure it with the small M.2 screw. Don't overtighten it!
- SATA: Mount the drive in the bay using screws. Connect a SATA data cable from the drive to a spare SATA port on your motherboard. Then, connect a SATA power cable from your PSU to the drive.
Step 4: Close Up and Power On
With the new drive installed, put the side panel back on, plug everything back in, and boot up your PC. Your journey to install an SSD for gaming is almost complete!
Final Steps: Initialising Your New Drive
Your PC will see the new hardware, but Windows won't be able to use it until you tell it how.
- Right-click the Start Menu and select "Disk Management".
- A pop-up should appear asking you to initialise the new disk. Choose "GPT (GUID Partition Table)" and click OK.
- You'll now see your drive as "Unallocated". Right-click it, select "New Simple Volume", and follow the wizard to format it and assign it a drive letter. ✨
Now your blazing-fast SSD is ready for games, apps, or a fresh Windows install. Once you've experienced the speed, you'll wonder how you ever managed without it. With prices in ZAR being more competitive than ever, now is the perfect time to check out the best SSD deals and give your rig the boost it deserves.
Ready to Banish Loading Screens? Installing an SSD for gaming is one of the most satisfying upgrades you can make. For maximum speed, choice, and value in South Africa, Evetech has you covered. Explore our massive range of SSD specials and find the perfect drive to supercharge your rig.