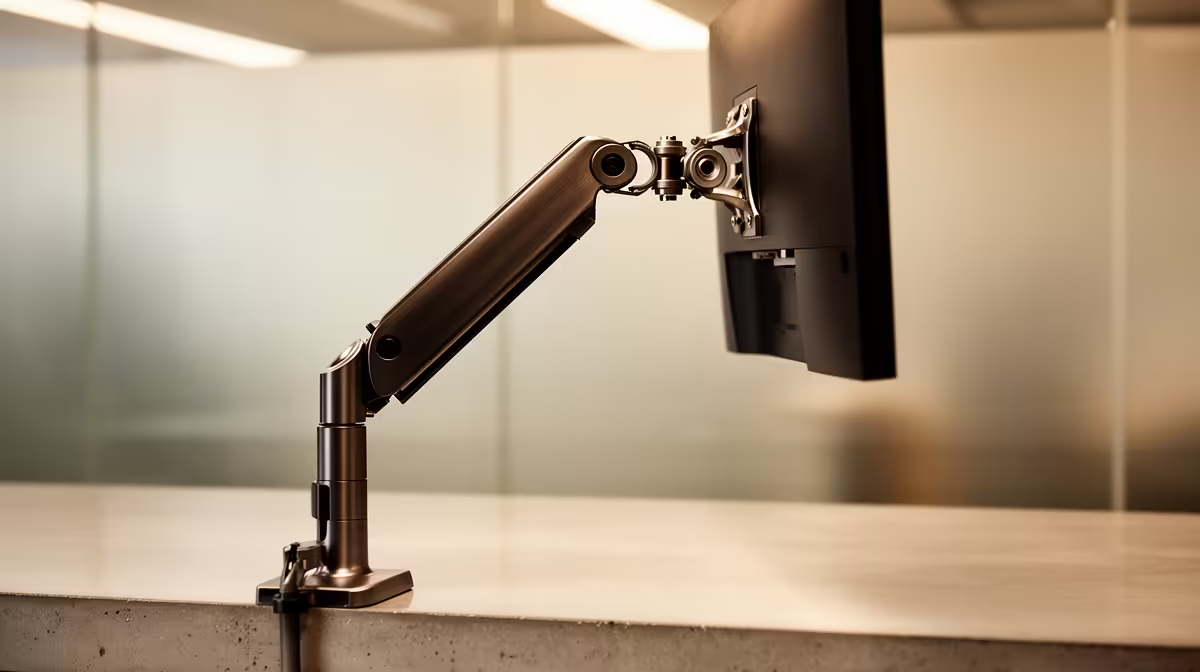
A monitor arm puts expensive glass above a clamp, which makes compatibility checks part of safety. A correct monitor arm setup matches VESA pattern, panel weight, desk structure and the movement range you need.
Quick Answer
Set up a monitor arm only after confirming four things: the panel has a usable VESA mounting pattern, its weight including any adapter fits the arm's range, the arm supports the screen size and curve, and the desk can take the clamp or grommet load. Remove the stand with the monitor face-down on a protected flat surface, secure the arm before lifting the panel and tension it in small steps. A strong arm cannot rescue a hollow desk edge.
Read the monitor mount details
Find the exact model manual and check VESA pattern, mounting-screw size, maximum screw depth, monitor weight without stand and any required spacers. Common patterns use four threaded holes, but recessed sockets and curved housings can need supplied standoffs.
Do not use screws that are too long. They can bottom out, crack the housing or damage internal parts. Screws that engage only a thread or two do not provide safe hold.
Some thin or entry monitors lack VESA holes. Universal clamp-style adapters grip the bezel and can block ports or press the panel. Use only an adapter rated for the exact dimensions and weight.
Arm ratings need a working range
Gas-spring arms often specify a minimum and maximum weight. A monitor below the minimum can rise on its own, while one above maximum can sag.
Curved ultrawides create leverage because their mass extends forward and sideways. Check explicit support for screen size, curvature and centre of gravity, not kilograms alone. Include the weight of VESA plates, handles, webcams and light bars attached to the moving head.
A dual arm may quote total capacity and per-arm capacity. Read both. Two heavy displays pulled forward can also place more torque on one desk clamp.
Inspect the desk structure
Measure top thickness and edge clearance. Look underneath for a steel frame, cable tray, drawer, bevel or apron that blocks the clamp.
Particle-board and hollow-core desks can crush where the clamp concentrates load. Use a wide reinforcement plate above and below when the arm maker permits it. Solid wood can still split near an edge or existing hole.
Do not clamp onto glass unless the desk and arm manufacturers approve that exact method. A small pressure point can cause sudden failure.
A grommet mount passes through a suitable desk hole and can work where no free rear edge exists. Check hole diameter, underside access and surrounding material. Do not drill through hidden cables, metal framing or a hollow panel.
Build the arm before the monitor
Clear the desk and disconnect power. Assemble the base, lower arm and upper arm according to the manual. Tighten fasteners to the stated method without stripping threads.
Clamp the base square to the desk, then push and pull the empty arm through its range. Watch for desk flex, clamp movement and collision with the wall.
Set a broad first tension before mounting the screen if the manual directs it. Do not wind a gas-spring adjustment past its marked range.
Remove the stand without panel stress
Lay a clean towel or foam sheet on a large flat table. Put the monitor face-down with no pressure on the controls, joystick or curved centre. A second person should support a large ultrawide.
Release the original stand through its documented latch or screws. Keep every part and screw in a labelled bag.
Attach the VESA plate using the supplied screw length and spacers. Tighten in a cross pattern until secure, without crushing the rear housing.
Lift with another person when size demands it
Lock the arm position or have a helper hold it. Support the monitor from its frame, never the panel surface. Engage the VESA plate and its safety screw or latch before releasing your grip.
Keep hands under the screen during the first movement. If the arm drops, rises or tilts, return the monitor to support and adjust tension in small increments.
Set height so the top area of the screen sits around comfortable eye level, then adjust distance. Your neck and focus comfort matter more than a photographed desk aesthetic.
Route cables through the full movement
Connect power and video with enough slack for height, tilt and rotation. Move the arm to every corner while watching plugs. A tight cable can pull a connector or limit the gas spring.
Secure cables at arm joints without pinching them. Keep power bricks supported by the desk or a rated tray, not hanging from the monitor socket.
For high-refresh DisplayPort or HDMI, use a cable rated for the mode and long enough to follow the arm. An extension can add signal trouble, so test the final route before closing cable covers.
Check the mount after settling
Mark the clamp position with removable tape. Recheck it after a day and a week. Look for desk dents, base rotation, screw loosening and slow monitor sag.
Move the arm by holding the frame with two hands. Pulling one corner can twist the VESA joint.
Compare panel weights and VESA support in the monitor range. Use the monitor best-seller page to verify whether a future display will remain inside the arm's range.
FAQ
How do I know whether the monitor supports VESA?
Check the exact manual for the hole pattern, screw size, depth and spacers. Four rear holes alone are not enough information.
Will a clamp work on any desk?
No. Thickness, material, edge shape and underside framing must support the concentrated load.
Can I mount a curved ultrawide?
Yes, when the arm supports its weight, size, curve and centre-of-gravity leverage. Use a helper for installation.
Verify VESA screws, full mounted weight and desk structure, then test the empty arm before lifting the monitor.