A corner that peels up mid-print is almost always an adhesion problem, and the two fixes people reach for are a brim vs raft for bed adhesion. They sound interchangeable but they solve different problems and cost you wildly different amounts of filament. Picking the wrong one means either a part that still lifts or a base you spend twenty minutes prying off and sanding flat.
Quick Answer
Use a brim first. A brim is a single fused layer of skirt around your model edge, it widens the contact area, resists corner lift, and peels off in seconds. Reach for a raft only when a brim still fails: tiny footprints, badly warped beds, or warp-prone materials like ABS. A brim wastes a fraction of the filament a raft does.
What each one actually is
A brim prints flat single-layer rings that fuse directly to the outer wall of your first layer. Nothing sits under the model, so the bottom surface stays exactly as designed. The brim only widens the footprint, giving the part more grip against the plate and bracing the corners that want to curl as the plastic cools.
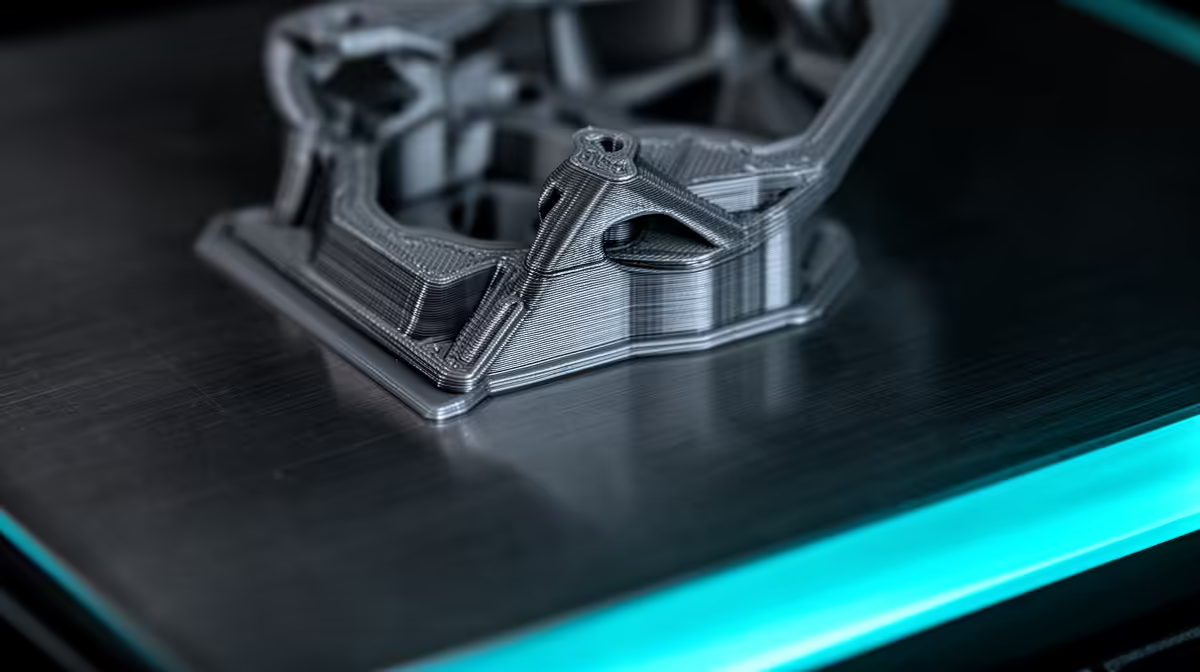
A raft is different. It lays down a thick disposable platform, usually several layers, and prints your model on top of that platform rather than on the glass or PEI. That makes it forgiving on a scratched or slightly warped bed, but the underside of your part now carries the texture of the raft, and you burn a lot more plastic and time getting there.
When a brim is the right call
PLA and PETG warp gently, so a brim is usually all they need. Set the brim width to roughly 5mm to 8mm for most parts, more for tall thin models that act like levers on their own base. Because the brim is one layer thick it releases with a fingernail or a light score, and on a well-tuned first layer it leaves no mark on the part edge. If you are printing something with a large flat base already, you may not need either aid, a clean first layer does the work.
When only a raft will do
Small-footprint parts, think a thin pillar or a figurine standing on one foot, do not give a brim enough edge to hold. ABS and ASA shrink hard as they cool and pull their own corners up no matter how wide the brim. A warped or pitted bed also benefits, since the raft creates a fresh level surface to build on. The trade-off is real: more filament, a longer print, and a rougher bottom face that may need sanding. If you are running these materials often, a printer with a heated enclosure does more for adhesion than any raft setting, and the 3D printer range at Evetech covers entry machines through enclosed workhorses.
A good adhesion habit also lives in your consumables: a clean bed, fresh adhesive, and a fine scraper. Picking those up alongside a printer is easy from the accessories that move fastest at Evetech.
Frequently Asked Questions
Does a brim slow the print down much?
Barely. A brim adds a handful of single-layer perimeters at the start, so you lose seconds, not minutes, and only a little filament. A raft adds several full layers under the whole part, which is where the real time and plastic go.
How wide should I set the brim?
Around 5mm to 8mm suits most parts. Go wider for tall, narrow models that put leverage on their base, and narrower for parts where you want the brim to release cleanly without marking the edge.
Will a raft leave marks on my model?
Yes. The bottom face picks up the texture of the raft top layer, so expect a slightly rough underside that may need light sanding. That is the cost of the extra adhesion a raft buys you.
Which one uses less filament?
A brim, by a wide margin. It is one layer around the edge versus a multi-layer platform under the entire footprint. If a brim does the job, it is always the cheaper choice.
My ABS still lifts with a brim, now what?
Move to a raft, and if you print ABS regularly, add an enclosure to hold heat around the part. Drafts and a cold chamber cause most ABS warping, and no adhesion aid fully fixes that on an open printer.
Start with a brim, keep a raft for the stubborn jobs, and if warping keeps beating you, an enclosed machine is the real fix. Browse the printer lineup at https://www.evetech.co.za/components/3d-printers-130 to match a machine to the materials you actually run.