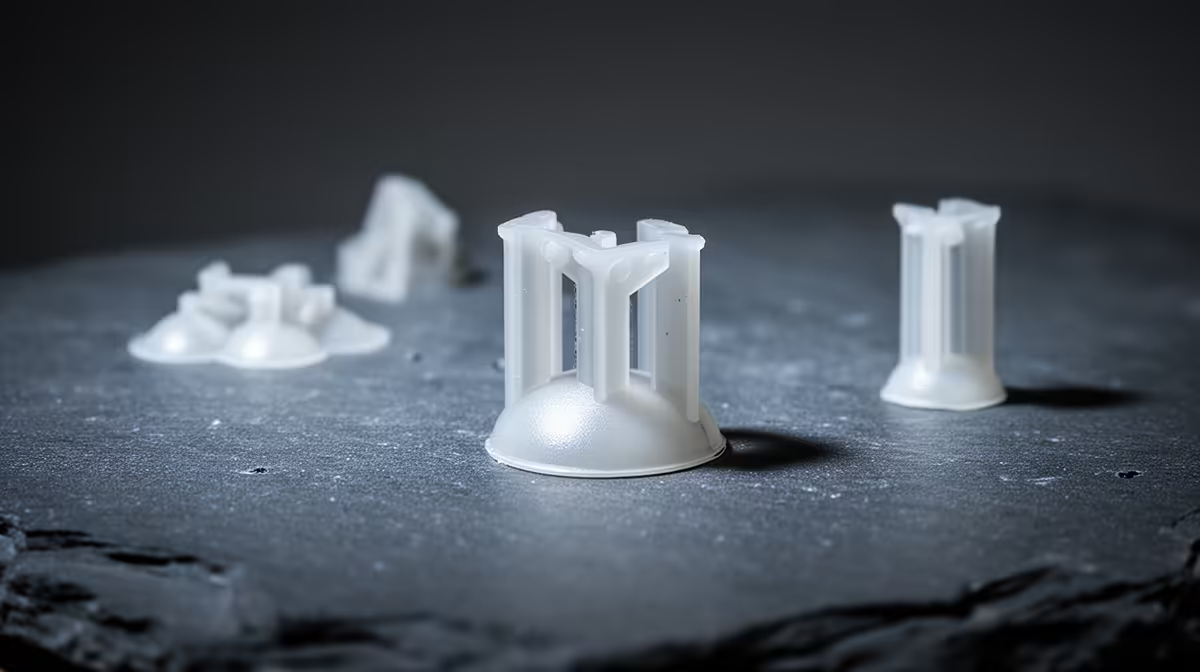
That bulged, slightly flared rim at the very base of a print is called elephant's foot, and it is almost always a heat-and-pressure problem rather than a faulty model. The bottom layer stays soft for too long, the weight of everything printed above it presses down, and the base spreads wider than the walls. The good news is that the two most common causes are quick to correct in software.
Quick Answer
Elephant's foot happens when your first layer is too hot or squished too hard against the bed, so it stays molten and gets pushed outward by the layers above. Drop the bed temperature by about 5 degrees, or set a negative first-layer compensation of around 0.1 to 0.2mm in your slicer, and the flare disappears.
Why the base bulges outward
The first layer carries the entire weight of the print while it cools. If the build plate is running hot, that layer never fully sets, and as the nozzle stacks layers two, three and four on top, the soft base squashes outward like dough under a rolling pin. A bed that is a touch too high (a Z-offset set too low) does the same thing from the other direction, pressing too much plastic into too little space.
Both causes share a fingerprint: the defect lives only in the bottom one or two millimetres, the walls above are dimensionally correct, and the flare is fairly even all the way around. That pattern is what separates elephant's foot from warping or a genuine calibration fault. If you are weighing up a machine that manages first-layer calibration reliably from the start, browsing the 3D printer range at Evetech lets you cross-reference auto-levelling models side by side.
The fixes, in the order to try them
Start with bed temperature. Lower it in 5-degree steps from your filament's default. PLA is usually happy around 50 to 60 degrees, and shaving a few degrees off often clears the problem without touching anything else. Give the next print a watch and only adjust again if the flare is still visible.
If temperature alone does not do it, use your slicer's first-layer compensation. In Cura the setting is Initial Layer Horizontal Expansion, in PrusaSlicer it is Elephant Foot Compensation, and a value of -0.1 to -0.2mm tells the slicer to shrink only that bottom layer slightly inward. Move in small steps, because too much negative compensation leaves the base undersized or causes the brim to separate.
The third lever is your Z-offset. If the nozzle is parked too close to the bed, re-run your first-layer calibration so the line is squished just enough to bond, not flattened into a smear. Good levelling fixes the cause rather than masking it. A small set of spare nozzles, spatulas and bed adhesives from the accessories best sellers makes that maintenance routine far less fiddly.
Frequently Asked Questions
Is elephant's foot a sign my printer is broken?
No. It is a tuning issue, not a hardware fault. Bed temperature, first-layer squish and slicer compensation between them resolve the vast majority of cases on otherwise healthy machines.
Should I lower bed temperature or use slicer compensation first?
Try lowering the bed temperature first, since it addresses the root cause and needs no model changes. Reach for slicer compensation when you want clean bases without altering a temperature profile that is working well for adhesion.
How much negative compensation is safe?
Around -0.1 to -0.2mm suits most prints. Going further can shrink the base too much or peel the brim away, so increase it gradually and reprint a small test piece before committing to a long job.
Does elephant's foot affect part accuracy?
Only at the very bottom. The flared rim can stop parts seating flat or fitting into tight tolerances, which is why it matters most for functional prints, jigs and anything that bolts to another surface.
Dialling in a clean first layer is far easier on a printer built for it. Browse the 3D printer range at Evetech to find a machine with reliable auto-levelling, then sort the rest of your bench setup from there.