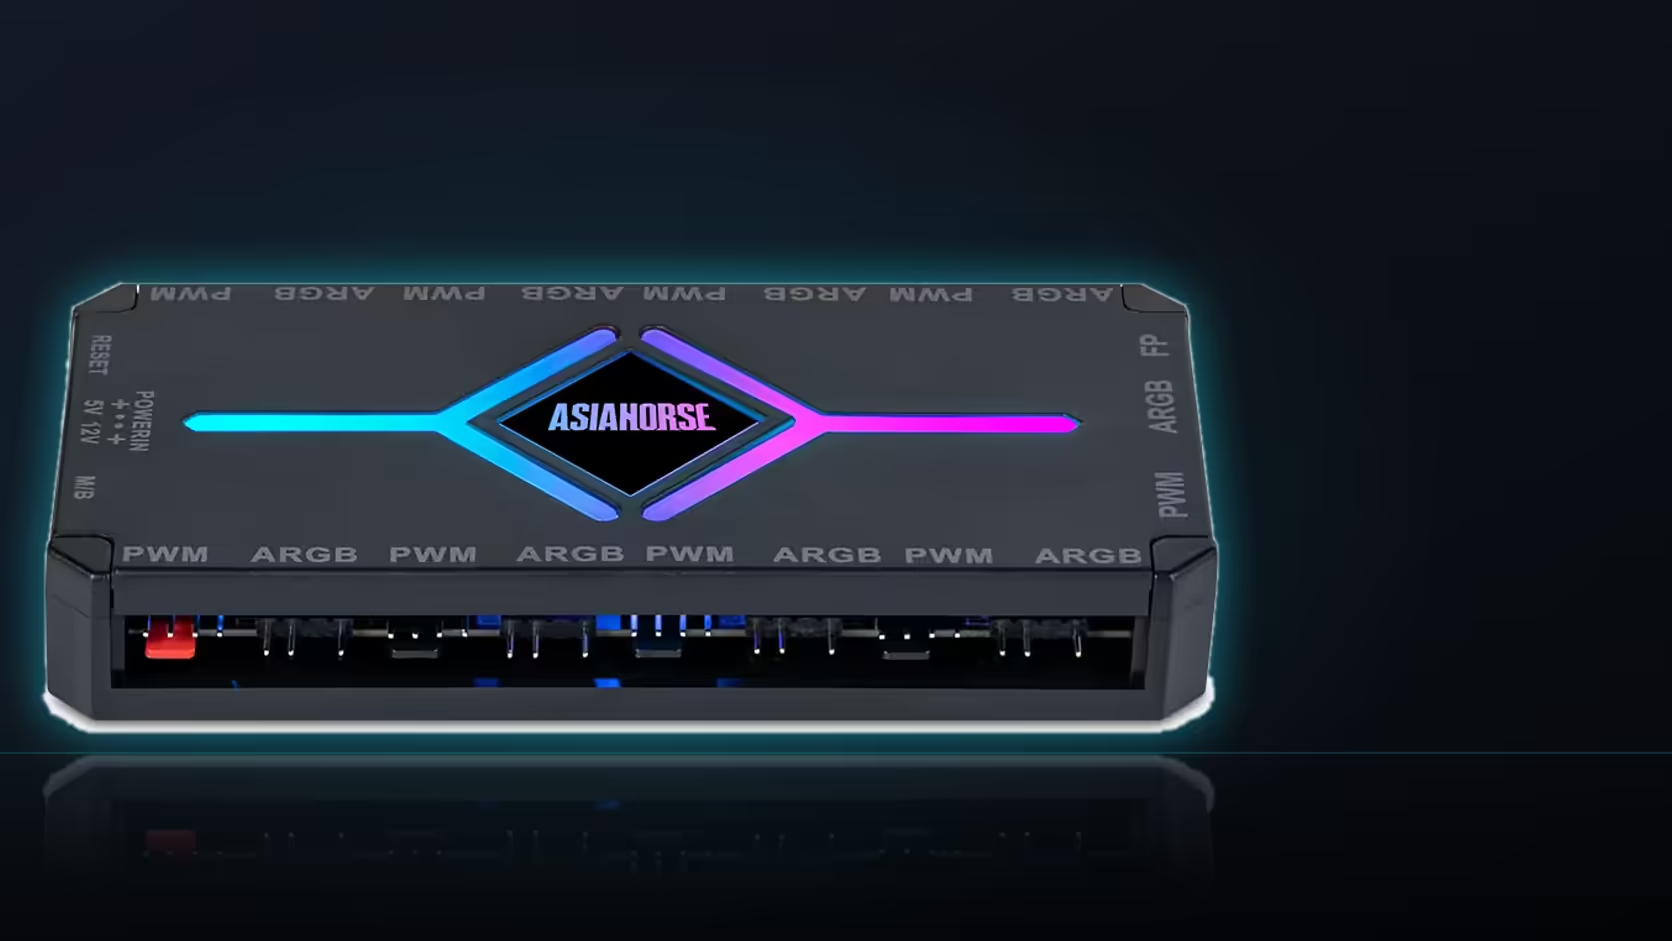
Three control modes and several ten-step settings sound manageable right up until you actually try to switch back to a setup you liked on the ASH-S1, at which point it becomes clear the remote does not display any of its own current values. Writing them down first is the only reliable way back.
Quick Answer
Before changing modes, note the currently active mode along with the preset number and the brightness, speed and effect levels in use, since the remote does not show any of this on a display. Restoring a setup you liked afterwards is otherwise a matter of working back through several ten-step controls by trial and error. The ASH-S1 costs R349 and supports remote, auto-temp and motherboard-sync modes.
📝 Why the settings are worth writing down
Unlike a lot of RGB software running on a PC, the ASH-S1's remote has no screen and no way to query what it is currently doing - the settings live in the hub, applied and adjusted, but not displayed back to you. That is fine day to day, but the moment you want to try motherboard sync or auto-temp and then return to exactly what the remote was doing before, there is nothing to read the old values off. A short note - active mode, preset number, brightness, speed, effect level - turns that into a five-second lookup instead of guesswork.
🔄 What actually happens when you switch modes
Moving into motherboard-sync mode hands lighting control to the board's own software, so the hub's own settings step aside rather than being lost outright - they should still be there when you switch back, but relying on memory to confirm that is asking for trouble. Auto-temp changes how fan speed behaves without touching the lighting side at all, so if only fan behaviour is changing, the lighting notes matter less for that particular switch.
🕐 When this actually comes up
The moment this matters most is adding board RGB software to a build partway through its life, or a shared machine where a remote-driven lighting scheme becomes inconvenient once several people are adjusting it. Recording the fan-side settings alongside the lighting ones is worth doing too, since auto-temp mode replaces the fan speed control the remote otherwise offers. If a mode switch happens to reveal a fan or two that needs replacing anyway, Evetech's case fan range is worth a look, and anyone who would genuinely rather have on-screen settings than a remote-only approach should weigh up the NZXT fan controller instead.
Frequently Asked Questions
Which settings should be written down before switching?
The active mode, the preset number, and the brightness, speed and effect levels currently in use.
Why record everything before switching modes?
Because returning to a setup you liked is otherwise a matter of working back through several ten-step controls.
Which modes are actually available?
Remote control, auto-temp and motherboard sync, as the three listed in the product description.
Does switching to sync mode lose the remote's settings?
Moving to board sync hands control to software, so the hub's own settings step aside until you switch back.
Is a photograph a useful way to record the settings?
Less so than for a BIOS screen, since the remote does not display the current values, so a written note is better.
When would a mode change typically be needed?
When board software is added to a build, or when a remote becomes inconvenient on a machine several people use.
About to try a different control mode on your hub?
Jot down your current settings, then browse Evetech's case fan range while you experiment.