HDMI 2.1 is a family of capabilities, not a promise that every display implements VRR, ALLM and the same 4K 120Hz bandwidth. Check the exact monitor ports, graphics output and cable. Then enable the features in the display, Windows and driver where each control exists.
Quick Answer
Connect the GPU to the monitor's full-bandwidth HDMI input with a certified Ultra High Speed HDMI cable. Enable the display's Enhanced, Deep Colour or high-bandwidth input mode, select 120Hz in Windows Advanced display and turn on adaptive sync in both the monitor and GPU driver. Test ALLM from a supported console or source.
Compare capabilities in Evetech's monitor catalogue and check the popular display shortlist. Read the per-port specification because one HDMI socket can differ from another on the same screen.
Confirm the Whole Signal Path
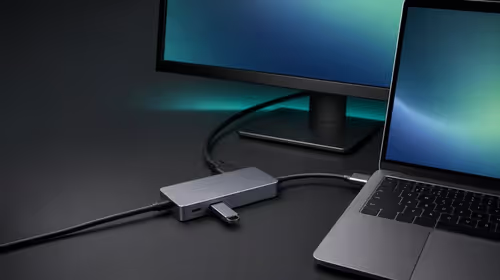
The source must output the resolution, refresh, colour depth and VRR format. A modern console, desktop GPU and laptop HDMI port can all expose different limits. Laptop USB-C docks and adapters add another conversion that may remove VRR or cap bandwidth.
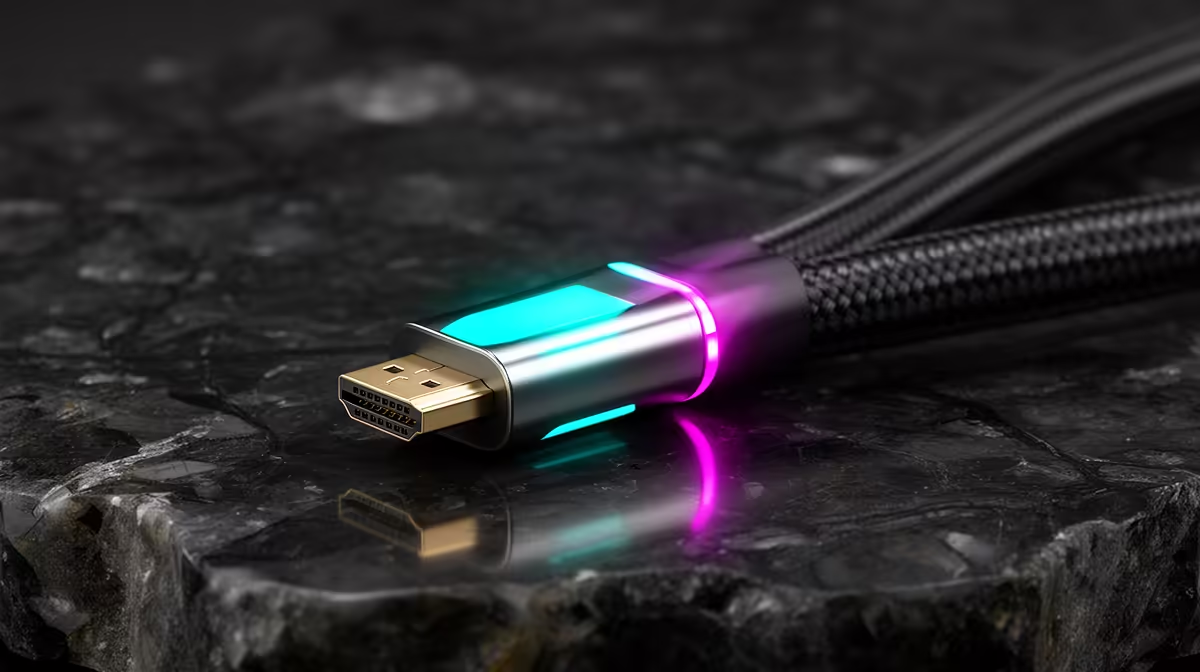
Use the cable supplied for the intended mode or a certified Ultra High Speed cable with the required length. A cable problem can cause black screens, sparkles or a missing refresh option, but firmware and port selection can look identical. Swap one known-good cable during diagnosis.
Avoid an AV receiver or capture device for the first test. Connect source to display directly, prove the mode, then add the middle device and check its pass-through specification.
Enable the Monitor Input Mode
Open the on-screen menu and select the HDMI input. Look for Enhanced Format, Input Signal Plus, Deep Colour, HDMI 2.1 mode or a similar option. Names vary, and some monitors enable full bandwidth without a switch.
Turn on Adaptive-Sync, FreeSync or VRR in the display menu. A gaming or low-latency picture preset may unlock related controls. Record the original values before changing them.
Some displays reduce colour processing or local-dimming choices in a low-latency mode. Compare image quality after the signal works; do not enable every gaming option because its name sounds faster.
Update monitor firmware only through the maker's documented process and after reading the release notes. A firmware change is not the first fix for a cable plugged into the wrong port.
Select 120Hz in Windows
Open System, Display, Advanced display. Choose the correct monitor from the drop-down and select 120Hz or the exact supported value. Keep native resolution.
If 120Hz is missing, check the GPU control panel's PC resolution section, port bandwidth and display input mode. A television-format resolution list can offer different refresh or colour options from the PC list.
On a 4K display, inspect output colour format and bit depth. The link may fall back to chroma subsampling when bandwidth is limited. Desktop text reveals 4:2:2 or 4:2:0 loss more clearly than video. Full RGB or 4:4:4 is preferable for PC text where the path supports it.
Do not force a custom timing until standard supported modes have been exhausted. A custom mode can hide the real cable or input limit.
Turn On VRR
Enable adaptive sync in the monitor, then open the GPU driver and enable G-SYNC Compatible, FreeSync or the relevant VRR control for that display. Windows also exposes a Variable refresh rate option for selected games and systems; it does not replace driver and monitor support.
Run a game whose frame rate moves inside the specified VRR range. Use the monitor refresh counter or driver indicator to confirm refresh changes with FPS. A static desktop cannot prove VRR is active.
Set one frame limiter a few frames below the upper boundary if you want to stay inside the range. Check the lower boundary and low-frame-rate compensation too. A 120Hz badge does not state the full VRR window.
Understand ALLM
Auto Low Latency Mode lets a supported source tell a display to enter its low-latency mode. It is common in console and TV chains. Many PC monitors already use a low-latency path and may not show an ALLM toggle.
On a console, enable the source's automatic low-latency option and watch the display information page when a game starts. If an AV receiver sits in the path, it must pass the signal correctly.
ALLM does not reduce the game's internal input delay or raise refresh rate by itself. It selects a display mode that avoids extra image processing where implemented.
Add HDR Last
Prove 120Hz and VRR in SDR, then enable HDR. This keeps colour-depth and tone-mapping issues out of the first signal test. Use Windows HDR calibration where suitable and the console's calibration screens.
Some displays have different VRR or local-dimming behaviour in HDR. Repeat the refresh indicator and frame-time test. Check for black screens when crossing modes, then update the GPU driver or display firmware if release notes address that exact problem.
Troubleshoot in a Fixed Order
- Verify the exact source and display ports.
- Connect directly with a known certified cable.
- Enable the monitor's high-bandwidth mode.
- Select native resolution and 120Hz in Windows or the console.
- Confirm colour format, then enable VRR and ALLM.
- Add HDR and intermediate devices after the base path works.
Change one item and retest. Randomly toggling driver, monitor and console options can produce a working screen with no clear cause and no repeatable fix.
FAQ
Does every HDMI 2.1 monitor support 4K at 120Hz?
No. Check the exact port bandwidth, resolution table and source support.
Is an HDMI 2.1 cable the only requirement for VRR?
No. The source, display, firmware and driver must support a compatible VRR path.
Does ALLM make a PC game run faster?
No. It can select a lower-processing display mode; it does not change game rendering performance.
Prove the direct 120Hz signal first, enable adaptive sync at both ends and add ALLM, HDR and pass-through devices one controlled step at a time.