The mounting hardware in the box always looks more confusing than the actual install turns out to be, and that holds true whether you are working with AM5 or LGA 1851. Fitting a 240mm liquid cooler correctly comes down to getting the backplate right before anything else touches the motherboard.
Quick Answer
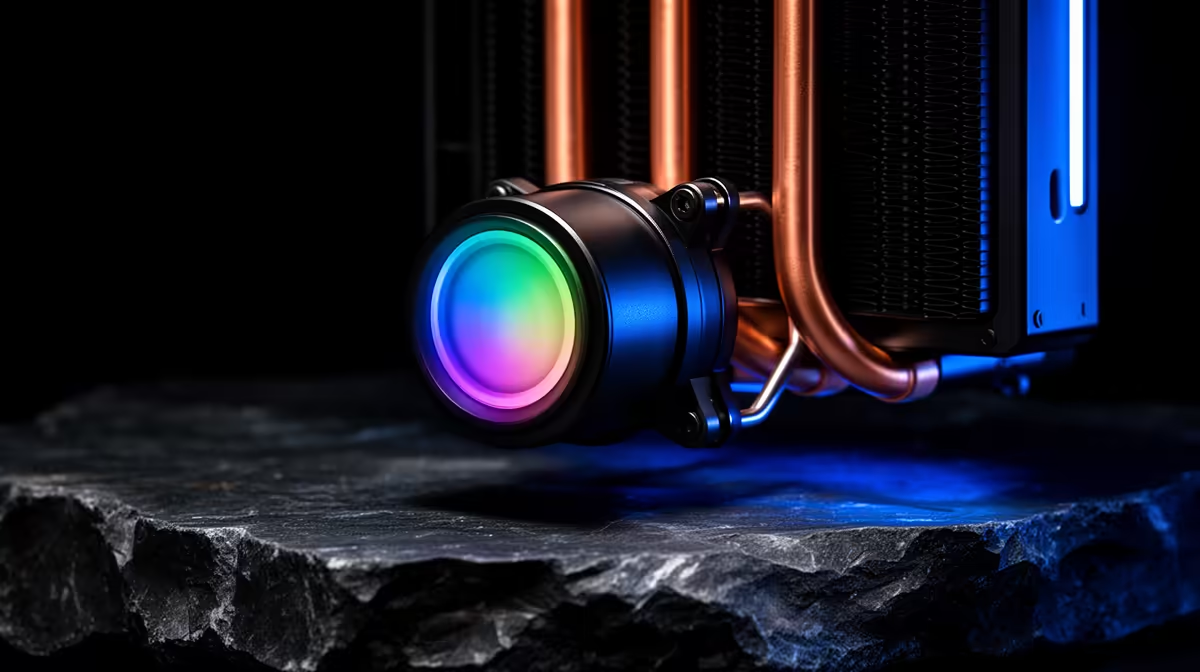
Installing a 240mm cooler on AM5 or LGA 1851 starts with the correct backplate and standoffs for that specific socket before mounting the radiator itself. The MasterLiquid 240 Atmos, at R1,399, includes socket-specific brackets for both, so the pump block secures the same way across either platform once the backplate is in place.
🔩 Starting with the backplate and standoffs
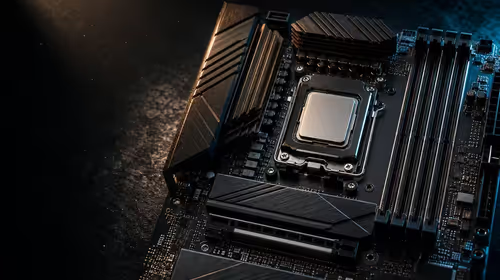
Before touching the radiator, sort out the CPU side of the mount. AM5 boards typically use the pre-installed retention bracket that ships with the motherboard, so the standoffs from the Atmos's kit need to be checked against that bracket rather than removed unnecessarily. LGA 1851 boards use Intel's standard backplate approach, with standoffs screwing in from behind the board before the pump block sits on top.
Getting this step wrong is the most common install mistake. A backplate seated slightly off-centre puts uneven pressure on the CPU once the pump block is tightened down, which can lead to higher idle temperatures even though everything looks correctly mounted from the outside.
Applying thermal paste correctly
Most coolers, including the Atmos, ship with paste pre-applied to the pump block's contact plate, which is fine for a first install. If reapplying paste after removing the block later, a pea-sized dot in the centre spreads evenly enough under mounting pressure without needing to manually spread it beforehand.
🛠️ Mounting the pump block
With the backplate secure, lower the pump block onto the CPU and tighten the screws in a diagonal pattern rather than one side at a time, similar to how wheel nuts are torqued on a car. This spreads mounting pressure evenly across the contact plate and avoids one corner clamping down harder than the rest.
Once tightened, give the tubing a gentle check to make sure it is not kinked or pulled taut against a case panel, since a kink close to the pump block can restrict flow even though the pump itself is running fine.
🌀 Mounting the radiator and fans
With the CPU side done, move to the radiator. Decide on front or top mounting based on case airflow design, then attach the two SickleFlow Edge PWM fans to the radiator before offering the whole assembly up to the case, since fitting fans afterwards in a tight case is often more fiddly.
Fan orientation matters here. As intake, fans should pull air through the radiator into the case; as exhaust, they push hot air from the loop straight out. Front-mounted as intake is generally the more common setup for keeping case airflow consistent, though case design varies enough that it is worth checking your specific layout.
Cable and tubing routing
Route the pump's fan and ARGB cables (if used) away from other case cabling where possible, and leave a small amount of slack in the tubing rather than pulling it taut between the pump block and radiator. Slack reduces stress on the fittings over months of use, particularly if the case gets moved or transported.
🔧 Final checks before powering on
Before closing the case, confirm the pump is receiving power from the correct header (usually a dedicated pump or AIO header on the motherboard, not a standard case fan header) and that the fans are connected to a PWM-capable header for proper speed control. Running the pump on a standard fan header can work, but it may not allow the same fine-grained control as a purpose-built AIO header.
On first boot, check the BIOS temperature reading briefly to confirm sensible idle values before closing everything up fully, since catching a mounting issue at this stage is far easier than after the case is sealed and cables are tidied.
For the complete socket list and mounting hardware breakdown, the Atmos 240 cooler page has the full specification, and Evetech's liquid cooler lineup shows other 240mm options if you are still comparing before committing. Builders wanting to weigh liquid against air cooling entirely can also browse the CPU cooler category page for a broader view.
Frequently Asked Questions
Do I need different brackets for AM5 versus LGA 1851?
Yes, the two sockets use different backplate and standoff designs, though a well-specified cooler like the Atmos includes hardware for both in the same box.
Should I remove the pre-installed AM5 retention bracket?
Not usually. Most coolers are designed to work with the bracket that ships on the motherboard rather than requiring its removal.
What torque pattern should I use on the pump block screws?
A diagonal, criss-cross pattern spreads pressure evenly, similar to tightening wheel nuts, rather than fully tightening one side before the other.
Which fan orientation is best for a front-mounted radiator?
Intake is the more common setup for a front-mounted radiator, pulling cool air through the fins into the case, though it depends on your case's overall airflow design.
Does the pump need its own motherboard header?
Ideally yes. A dedicated pump or AIO header gives more reliable speed control than running it off a standard case fan header.
Ready to install your own 240mm liquid cooler?
Order Cooler Master's MasterLiquid 240 Atmos AIO (R1,399) from Evetech's cooling range, which ships with mounting hardware for both AM5 and LGA 1851 boards.