Switching to a Mac and worried your years of photos will be stranded on the old Windows PC? They will not be. Migration Assistant is built to copy your Pictures folder across the network straight into the new machine, after which the Photos app imports everything and keeps it in sync. The whole job is mostly waiting, not wrestling, as long as you set it up in the right order. Here is the clean way to move your library without losing a single shot.
Quick Answer
Run Migration Assistant on both machines on the same network to copy your Windows Pictures folder to the Mac, then open the Photos app and import the copied files. Once imported, Photos syncs to iCloud automatically if you have it enabled. Keep the original photos on your PC until you have confirmed everything arrived safely.
Before you start: a few minutes of prep
A little setup makes the transfer painless.
1. Get both machines on the same network
Migration Assistant moves data over your local network, so connect the Windows PC and the new Mac to the same Wi-Fi or, better still, the same wired router. A wired connection on at least one machine speeds up a large photo library considerably and reduces the chance of a dropped transfer.
2. Tidy and locate your photos
Make sure your photos live in the Windows Pictures folder, or note wherever they actually sit. If they are scattered across the desktop, downloads and external drives, gather them into one place first. A few minutes organising now saves confusion when you import on the Mac.
3. Install Windows Migration Assistant on the PC
Apple provides a free Windows Migration Assistant utility that you install on the PC. Download the version that matches your Mac's operating system, close other open applications, and have it ready to run. The Mac's Migration Assistant is already built in.
Running the transfer step by step
With both machines prepared, the move itself is straightforward.
4. Launch Migration Assistant on both
Open Migration Assistant on the Mac and choose to transfer from a Windows PC. On the PC, run the Windows Migration Assistant. The two will search for each other on the network and display a security code. Confirm the code matches on both screens before continuing, so you know they have paired correctly.
5. Select what to transfer
The Mac will list the data it can bring over, including your user folders. Tick the items that contain your photos, typically the Pictures folder, and deselect anything you do not need to keep the transfer focused and faster. If you only want photos, you can narrow the selection to just that.
6. Start the transfer and wait
Begin the migration and leave both machines alone while it runs. A large library of many thousands of images can take a while, so do not sleep, lock or disconnect either machine. A wired connection here pays off. When it finishes, your copied photos will sit in the Mac's user folders.
7. Import into the Photos app
Open the Photos app on the Mac and import the transferred image files. Drag the folder onto Photos, or use the import option and point it at the copied Pictures folder. Photos reads the files, builds its library and organises them by date. Give it time to finish processing before judging whether everything is there.
After the import: iCloud and verification
Once Photos has your images, the rest is mostly automatic.
Let iCloud sync if you use it
If you have iCloud Photos enabled, the Photos app uploads your library to iCloud and keeps it in sync across your Apple devices. This can take time and bandwidth for a large collection, so leave the Mac connected and powered until it completes. South African fibre handles this comfortably, but a big library still needs patience.
Confirm everything arrived before deleting anything
Spot-check across different years and albums to confirm your photos imported cleanly. Only once you are confident the Mac has the full library should you consider clearing the originals from the PC. Keeping a backup of the old library somewhere safe is sensible regardless.
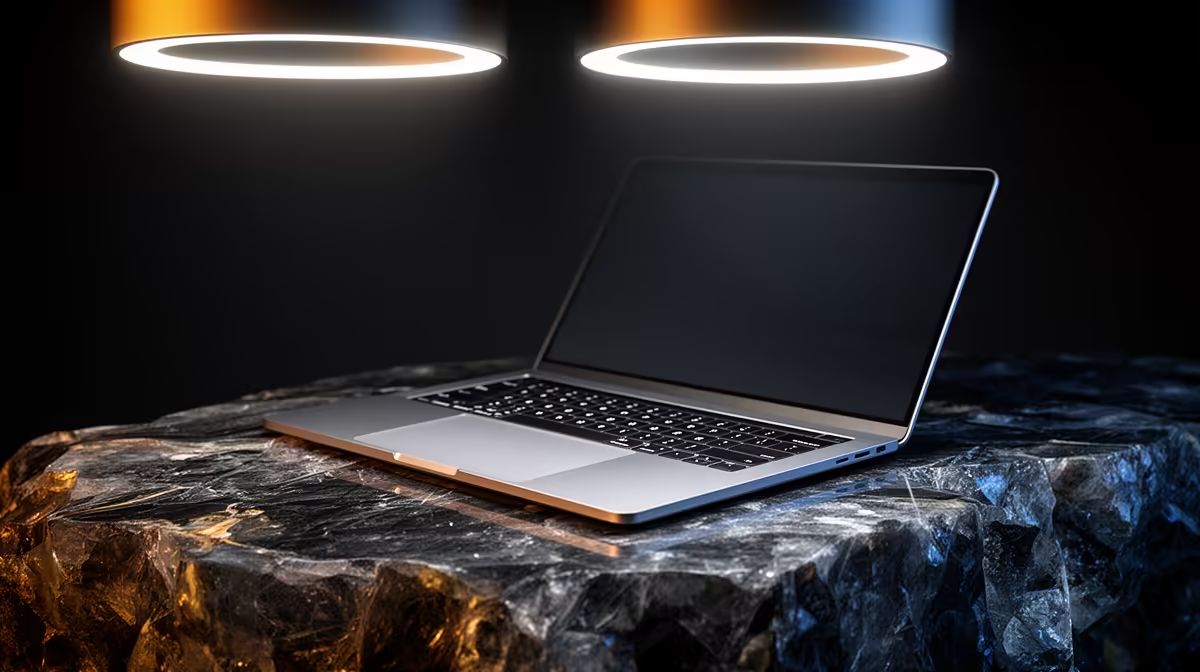
If you are still finalising the Mac itself, the MacBook range at Evetech covers every current model so you can pick the storage tier that fits the photo library you are bringing across. For buyers comparing portable options more broadly, the laptop best sellers at Evetech show which machines SA buyers are currently choosing and how they are specced.
Frequently Asked Questions
Does Migration Assistant transfer photos over Wi-Fi?
Yes, it moves data over your local network, so Wi-Fi works. A wired connection on at least one machine is faster and more reliable for a large photo library, and reduces the risk of an interrupted transfer.
Will my photos sync to iCloud after importing?
If iCloud Photos is enabled on the Mac, the Photos app uploads and syncs your imported library automatically. A large collection takes time, so keep the Mac connected and powered until the upload completes.
Do I need to keep the originals on my Windows PC?
Keep them until you have confirmed the full library imported correctly on the Mac. Spot-check across different years, then keep a backup somewhere safe before clearing the originals. There is no rush to delete.
How long does the transfer take?
It depends on library size and connection. A few thousand images over Wi-Fi can take a while; a wired link is faster. Plan to leave both machines undisturbed for the duration rather than interrupting the process.
Can I move only my photos and nothing else?
Yes. During Migration Assistant's selection step you can narrow the transfer to just the folders containing your photos and deselect everything else, which keeps the move focused and quicker.
Setting up a new Mac for your photo library? Compare storage and models in the MacBook range at Evetech, pick enough space for your full collection, and let Migration Assistant and Photos handle the move.