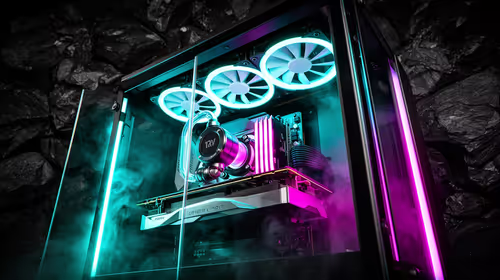
A finished build deserves a photo, and most people take one that captures the colour scheme perfectly while missing the one detail that actually matters if the build ever needs to be recreated or serviced. The cable exit direction rarely shows up in a standard shot, and that gap is exactly what a rebuild photo needs to fill.
Quick Answer
A photograph showing only the finished colour misses which way cables leave their connectors - information a rebuild genuinely needs. Direction matters specifically for side-exit lit cables, which come in distinct left and right versions, and for reverse-blade fans, where knowing which face was actually fitted is not obvious from a general colour shot.
🧭 Why exit direction is the detail that gets lost
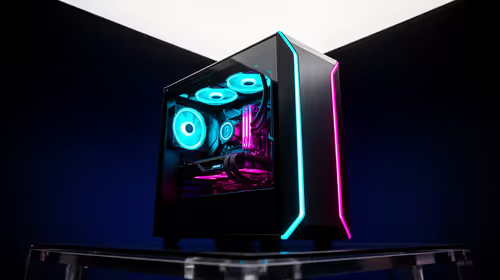
A wide shot of a finished build captures colour, layout and overall impression extremely well, but it rarely shows clearly enough which direction a given connector's cable actually leaves it from - and that is precisely the detail that matters most when trying to reproduce the exact same setup later, whether that is for a rebuild, a repair, or just remembering how a particular run was routed the first time.
↔️ Which products are actually directional
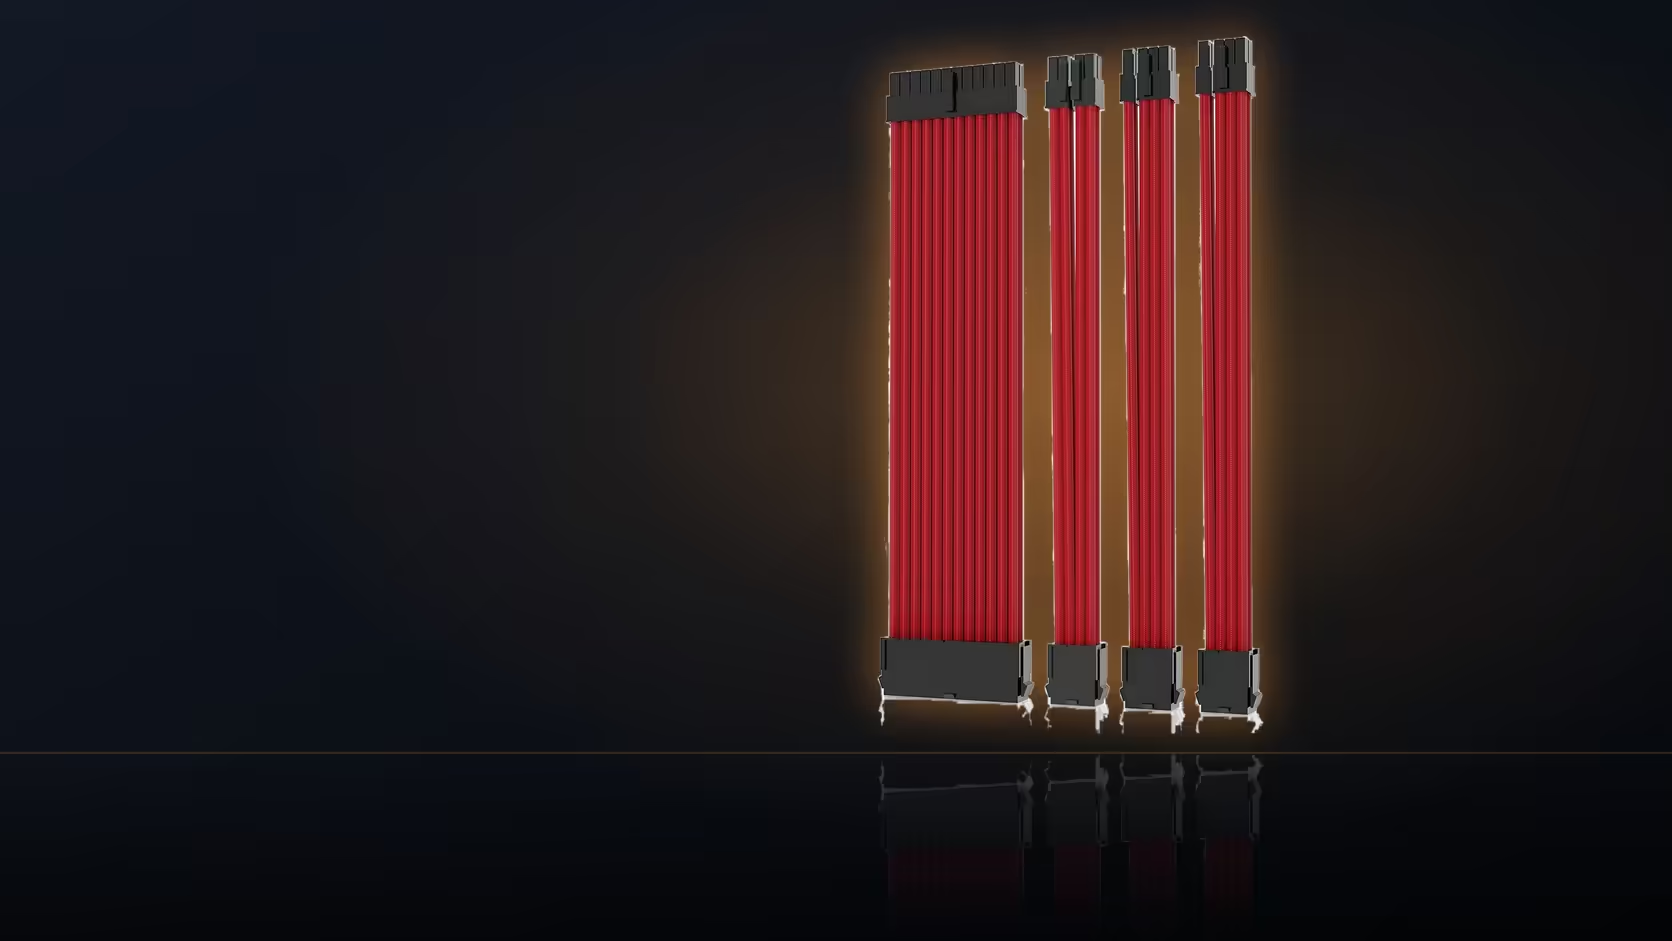
Side-exit lit cables are the clearest example in this range - they are sold in distinct left and right variants depending on which way the connector needs to point to clear a nearby component or panel, and a photograph that only shows the finished colour gives no clue which version was actually used. Reverse-blade fans carry the same problem from a different angle: the photo needs to make clear which face is showing, since a standard and a reverse-blade fan from the same family can look nearly identical from a casual glance despite facing opposite ways.
📸 What else the photo should try to capture
Beyond exit direction, a genuinely useful build photo records where cable junctions actually sit, which specific header or hub port each lead reaches, and the order fans from the case fan range are arranged in across a row. None of that survives in memory reliably for more than a few weeks, and all of it is the exact information needed to either recreate the build from scratch or troubleshoot it if something stops working later.
🎥 Is one photograph actually enough?
A single wide shot rarely captures every detail worth having, but a wide shot plus a handful of close-up details usually covers the gap - the detail shots are what answer the specific questions a general overview simply cannot, like which connector a lead is plugged into or which way a fan's face is turned. It does not need to be a professional shoot; a phone camera and a few extra minutes cover this comfortably.
🕰️ When to actually take it
The best moment to take these photos is once the build is finished and confirmed working, rather than at some intermediate stage along the way - that is the arrangement genuinely worth recording, since it represents the setup that actually functions correctly rather than a stage that might still change before the build is done.
🗂️ Where the photos should actually live
Keeping the photographs with your build notes, rather than scattered among unrelated photos on a phone, is what makes them findable later when they are actually needed. A photo buried in a general camera roll months after the build was finished is close to useless if it cannot be located quickly.
💬 Does this help beyond your own future rebuild?
It does, and one practical use is worth mentioning specifically: a documented build with clear connector and direction photos is considerably easier to describe accurately to whoever buys it next, if it is ever sold on. Buyers asking detailed questions about a used build get far better answers from someone with reference photos of the case accessories actually fitted than from memory alone.
Frequently Asked Questions
Why does cable exit direction matter for a build photo?
Because products such as the side-exit Hydrus cables come in left and right versions, and the photograph is what identifies which was actually used.
Which products in this range are genuinely directional?
The side-exit lit cables, and the reverse-blade fan versions, where which face is showing matters as much as which family was chosen.
What else should a good build photo capture?
Where cable junctions sit, which specific header each lead reaches, and how a row of fans is ordered and oriented.
Is one photograph enough to record all of this?
A wide shot plus a few close-up details usually is, since the detail shots answer questions a general overview cannot cover on its own.
When is the best time to take these photos?
Once the build is finished and confirmed working, which is the arrangement worth recording rather than an intermediate stage.
Where should the photographs actually be kept?
Alongside your build notes, so they are findable later rather than lost among unrelated photos on a phone.
Does this documentation help with anything beyond a future rebuild?
It does - a well-documented build is considerably easier to describe accurately to whoever buys it next, should that ever come up.
Finishing a build worth documenting properly?
Browse Evetech's case accessories to check which parts you fitted are directional before you shoot the finished photo.