Adhesion across a 420mm square bed is a coverage problem, not merely a centre-point check. Preparing a 420 x 420mm print bed for consistent adhesion means controlling cleanliness, initial spacing and test evidence across several positions.
Quick Answer
Prepare the Neptune 4 Max's 420x420mm bed with a clean dual-sided plate and its integrated 121-point auto-levelling mesh before judging adhesion.
Clean the selected plate face correctly, complete the exact printer's setup routine and inspect a simple pattern that reaches the centre, edges and corners. At R9,399, the Neptune 4 Max combines a 420 x 420mm bed area with an upgraded dual-sided build plate. Correct one observed weakness at a time, then repeat the identical pattern before placing a large model.
🧽 Remove Variables From the Surface
Prepare a work area where the plate can be handled without touching the printing zone. Remove contamination using a method suited to the confirmed surface construction. Because the Neptune plate's material and coating are not defined by its dual-sided label, verify them before applying cleaners or adhesion products.
Keep a side identifier in the test note. If the plate is flipped accidentally, the baseline changes. This small control matters when the full area is being evaluated rather than one familiar centre patch.
The large 3D printer section at Evetech can support comparisons once surface care and usable bed area are separate checklist rows.
🗺️ Map Contact Across the Bed
Create a low, simple first-layer layout covering distinct zones. Look for line width consistency, neighbouring paths meeting cleanly and changes that repeat in the same location. Photograph or label the pattern so later corrections can be compared without relying on memory.
Use the levelling or initial-gap process intended for the exact machine. Bed dimensions do not reveal whether that procedure is automatic, assisted or manual. A test map shows the setup outcome; identify the levelling process separately before drawing a mechanical conclusion.
⚖️ Interpret Local and Global Symptoms
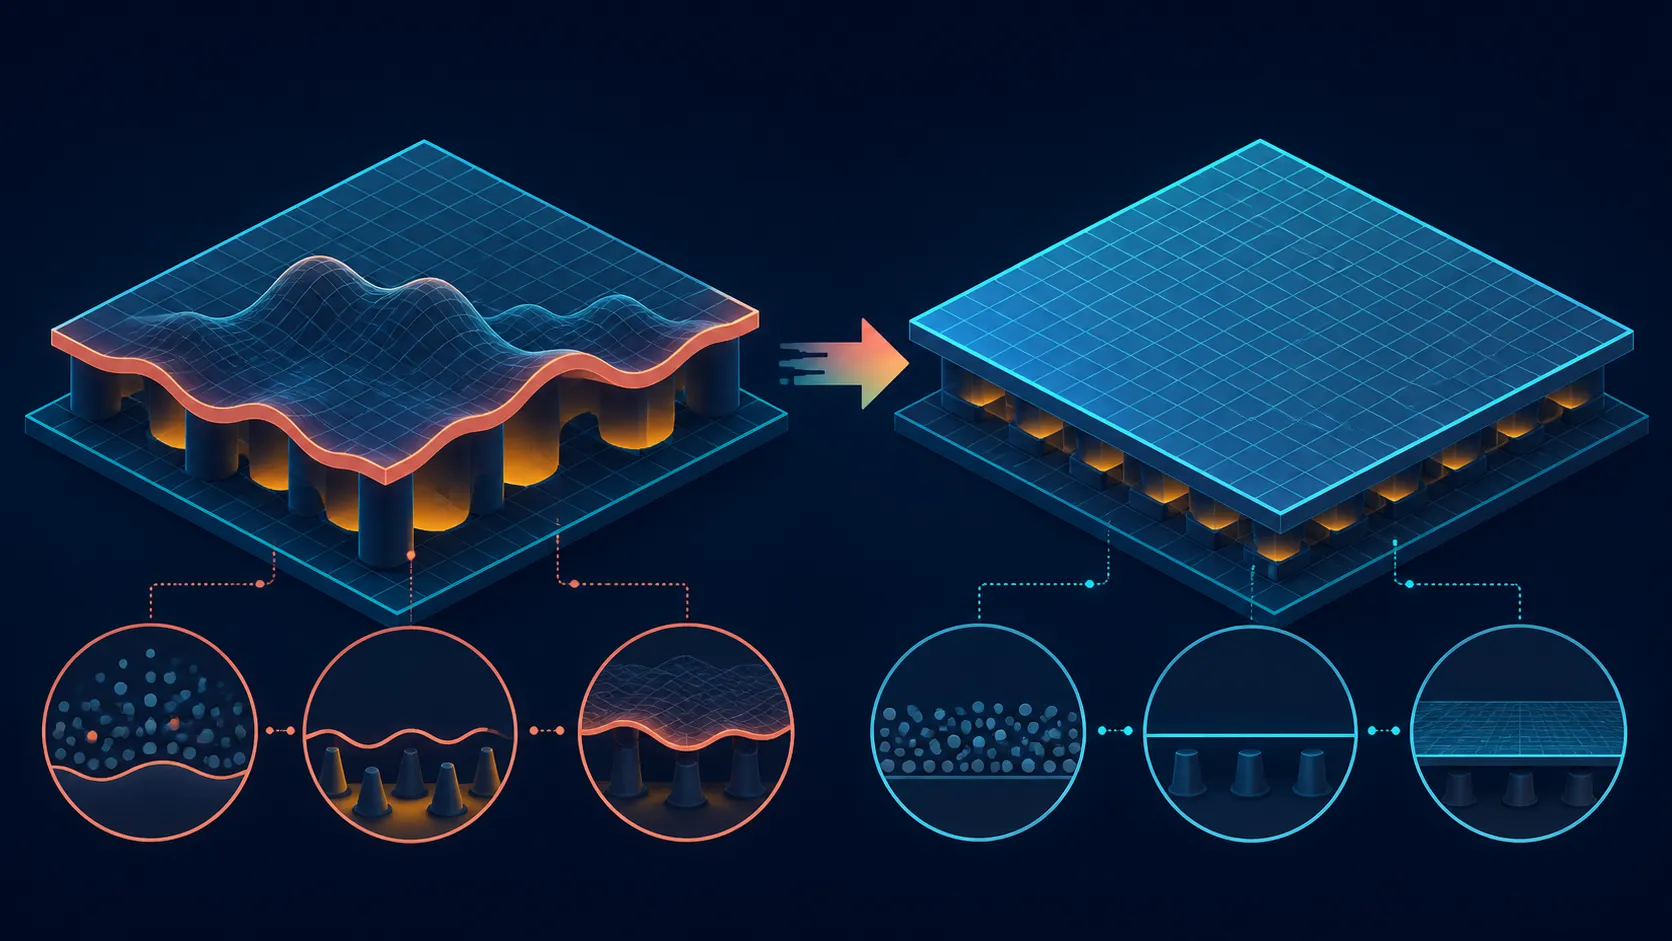
One weak edge suggests a local condition deserves attention. A similar failure in every zone points towards a setting or preparation shared by the entire bed. This distinction prevents broad changes from disturbing areas that already work.
Hold material, plate face, profile and test file constant during diagnosis. The Neptune 4 Max includes a 300C nozzle and high-speed Klipper motherboard, but neither feature supplies a universal adhesion recipe. Compare machines through Evetech's wider 3D printer collection without turning unrelated headline specifications into first-layer settings.
📋 Move From Pattern to Project
Once the map is even, print a representative footprint from the intended model. Large contact areas, isolated sections and narrow corners may challenge different parts of the surface. Use the slicer view to ensure the verification piece samples the zones the final job will occupy.
Select the exact material through the 3D printing filament range, then follow its complete temperature and surface guidance. A nozzle capable of 300C does not prove that a material, bed face or treatment is suitable.
Keep the successful map, face identifier and profile name together. Repeating that short check after maintenance or a plate change helps protect a known adhesion baseline. Date the result so gradual drift can be separated from one failed preparation. Store the pattern beside a photograph of its labelled zones; a later user can compare evidence without guessing which edge produced the weak line.
The 11x11 measurement pattern is designed to compensate across the expansive surface instead of assuming one central adjustment represents every corner. Print a broad first-layer test that crosses several zones and change only the control connected to the observed fault. The 420x420x480mm capacity magnifies small preparation errors, so a proven mesh, surface routine and filament baseline should be saved together.
Frequently Asked Questions
Why test more than the centre of a large bed?
A central patch can look correct while an edge has a different initial relationship. Multiple zones reveal whether preparation is uniform across the footprint.
What should cleaning remove from the plate?
It should remove contamination relevant to the identified surface without harming its finish. Confirm plate construction before choosing the cleaning method.
How can the first-layer gap be assessed?
Print a simple bed-wide pattern and inspect line contact in labelled zones. Follow the machine's proper setup process before interpreting the result.
Does the Neptune 4 Max have a 420mm bed?
Yes. Its build volume measures 420 x 420 x 480mm, giving a 420mm width and depth for placement planning.
Why change only one adhesion variable at a time?
A single correction makes cause and effect visible. Several simultaneous changes can hide the useful action or create a new problem.
Which plate feature supports this preparation?
The Neptune 4 Max uses an upgraded dual-sided build plate. Treat the two faces as separate surfaces until controlled testing shows otherwise.
Ready to turn a wide bed into a measured adhesion map?
Compare 3D printers and filament through Evetech, then carry one clean zone test from setup into the final project.