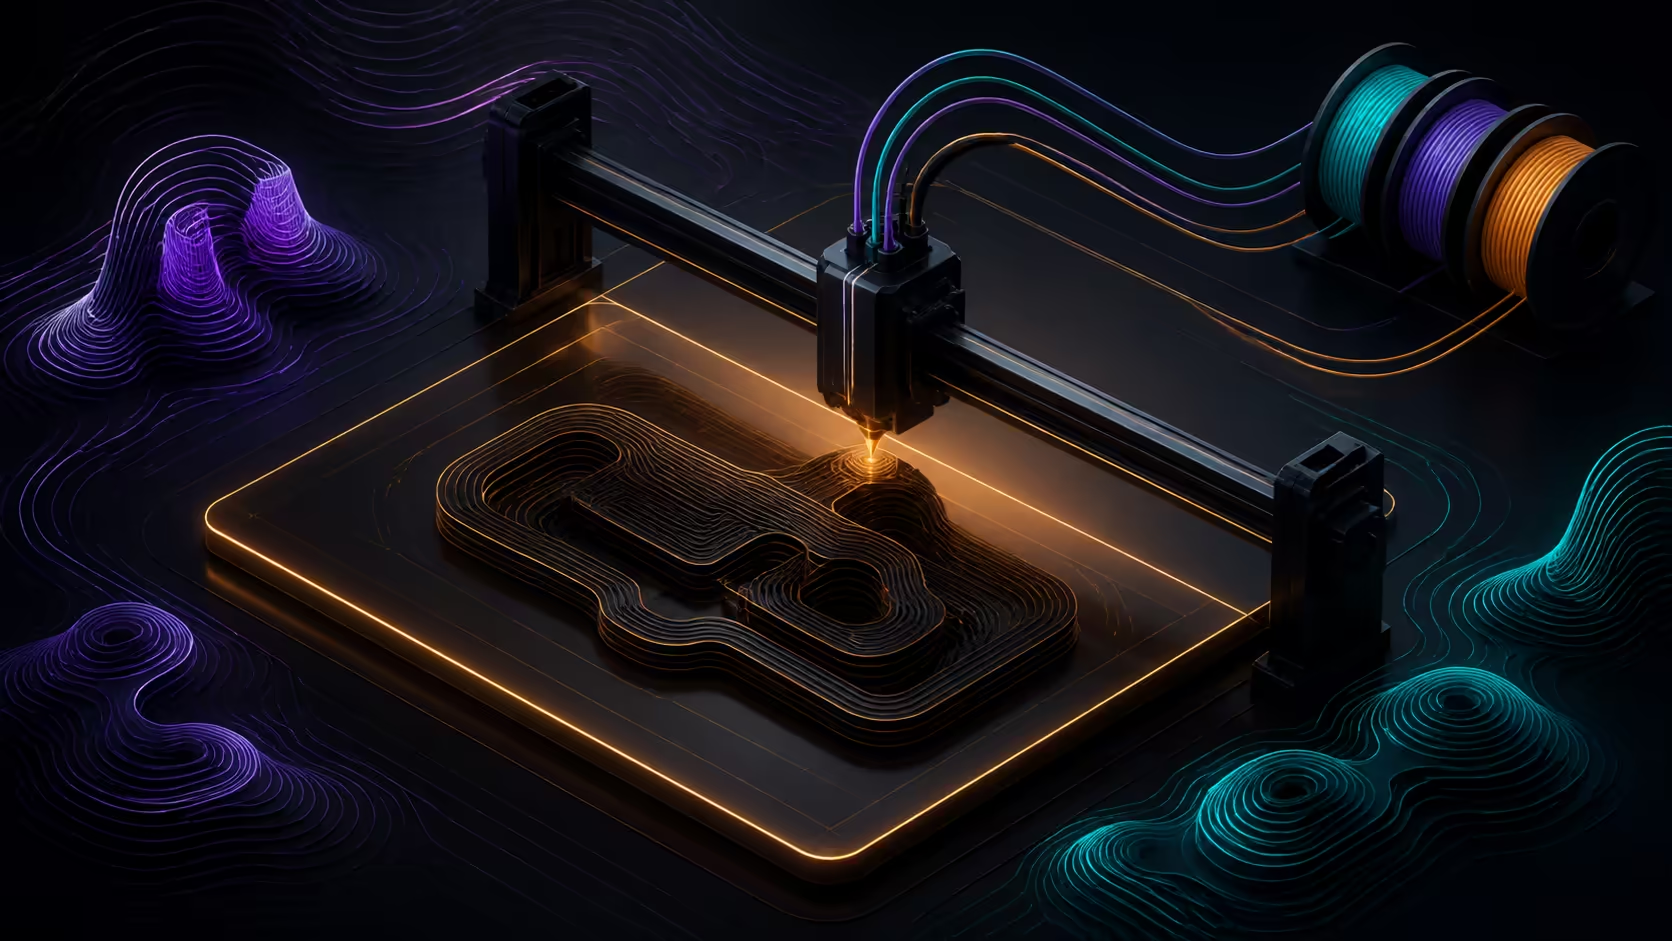
A wide print can fail at the edge even when a small centre patch looks tidy. A reliable large-format FDM 3D printer first layer therefore begins with a clean surface, a controlled nozzle gap and evidence gathered across the bed.
Quick Answer
The Neptune 4 Max uses a 121-point 11x11 auto-levelling system across its 420x420mm bed, giving first-layer setup a dense compensation mesh.
Prepare the plate, follow the printer's correct setup procedure and run a bed-wide first-layer pattern before starting a large model. The R9,399 ELEGOO Neptune 4 Max gives that test a 420 x 420mm area within its 420 x 420 x 480mm build volume, using an upgraded dual-sided build plate. Adjust one variable, print the pattern again and keep only changes that improve the weak zone.
🧼 Start With a Repeatable Surface
Remove loose debris and fingerprints using care instructions appropriate to the identified plate face. Do not choose a cleaner from the phrase dual-sided alone, because the materials and coatings of the Neptune 4 Max plate need separate confirmation. Handle the edges where practical so a prepared surface stays consistent.
Pick one face for the baseline and note it. Reversing the plate midway through diagnosis can change the contact surface while making the result look like a nozzle or levelling change. Makers comparing large printer choices at Evetech should apply the same preparation standard to every candidate.
📐 Check More Than the Centre
Use a simple pattern that reaches several bed zones. Inspect whether adjacent lines meet, remain separate or are pressed unevenly. The observation reveals where the initial nozzle-to-plate relationship changes; it does not identify the cause on its own.
Follow the correct levelling and first-layer method for the exact printer. No automatic, manual or sensor-based process should be assumed from bed size. After completing that procedure, retest without changing temperature, speed and flow simultaneously.
🐢 Keep the First Pass Conservative
The Neptune 4 Max has a Klipper high-speed motherboard and supports operation up to 500mm/s, but that ceiling is not a first-layer instruction. Begin with a stable profile suitable for the chosen filament and surface, then judge the printed line rather than the headline rate.
If the centre is sound and one corner is not, concentrate on the local relationship instead of raising adhesion settings everywhere. If every zone shows the same symptom, review the common baseline first. This distinction keeps a large-bed diagnosis efficient.
Browse the wider 3D printer category when comparing setup controls, but verify the exact procedure for each machine.
🧩 Prove the Layer Before Committing Material
Measure the actual model footprint in the slicer and place a small verification shape near important edges. A full 420 x 420mm bed does not mean every project should immediately occupy it. Progress from a diagnostic pattern to a representative section and only then to the complete job.
Keep the material route fixed during this sequence. The Neptune 4 Max has a 300C nozzle, yet nozzle temperature alone cannot define filament compatibility or first-layer settings. Use the Evetech filament range after identifying the exact material and its complete requirements.
Record plate face, material, profile name and the zone that changed. That short note turns a successful first layer into a repeatable starting point rather than a lucky print.
Begin with a clean correctly seated dual-sided plate, run the full levelling routine and inspect a test that reaches several bed zones. The direct-drive extruder's dual gears and 5.2:1 reduction support consistent material flow, while the large surface still needs sensible temperature and cleanliness. Save the successful mesh and first-layer settings before increasing speed toward the recommended 250mm/s range.
Frequently Asked Questions
What should be checked before the first large print?
Confirm the selected plate face is clean, complete the exact printer's setup procedure and inspect a pattern that reaches multiple bed zones.
How large is the Neptune 4 Max build area?
Its printable envelope is 420 x 420 x 480mm. The first two figures define the broad bed area used for this diagnostic approach.
Does the printer include a dual-sided plate?
Yes. It has an upgraded dual-sided build plate, while each face's material and care method should be identified before cleaning or treatment.
What does an uneven first test indicate?
It shows that initial conditions differ across the sampled area. The pattern narrows the search, but a single result does not prove one cause.
Should maximum speed be used for first-layer setup?
No. Up to 500mm/s is an operating ceiling, not a universal starting value. Establish adhesion with a controlled profile before testing faster motion.
Should several settings be corrected together?
Change one factor and repeat the same pattern. Otherwise, an improvement cannot be linked confidently to the plate, gap, temperature or motion adjustment.
Ready to establish a bed-wide first-layer baseline?
Compare large-format 3D printers and filament choices at Evetech with your test pattern and project dimensions already defined.