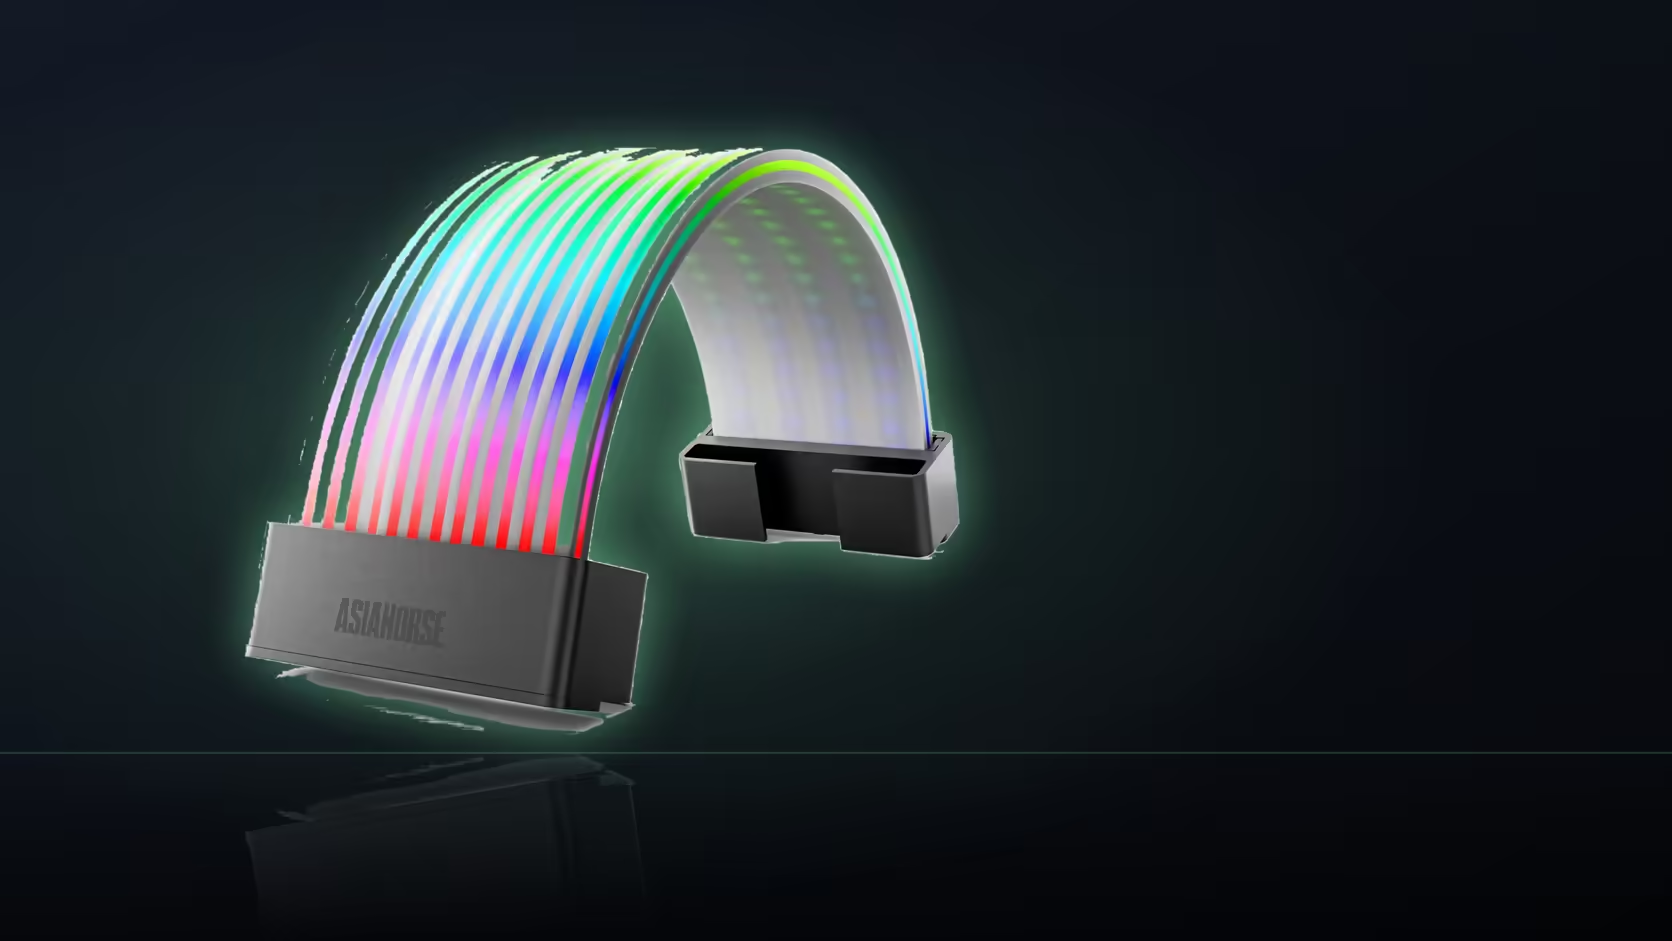
Cable ties are permanent in a way that a loose lead never is, and that is exactly why tracing every path before committing to a tidy build matters more with a product like the Aurora Learn ARGB PSU Cable Cover than with a simpler part. Two separate runs are involved here, and both need confirming before anything gets bundled and secured.
Quick Answer
Before tidying any cables on an Aurora Learn install, trace the path from cover to controller and the separate path from controller to SATA power, since two distinct runs are involved rather than one. The R599 cover clips onto its cable independently of where the controller ends up sitting, so tying the build down around a route you have not actually confirmed is how a cover ends up stranded too far from its own controller. Sorting both paths first avoids having to cut and redo work later.
🧵 The two runs that make up this install
Cover to controller
A fixed-length lead joins the shell to the controller, and this is usually the tighter constraint of the two, since it decides how far apart the cover and controller can actually sit.
Controller to SATA power
A separate lead takes the controller to a free connector on your power supply's SATA cable, independent of the first run entirely.
🧭 Where these two runs typically meet
Most builds land on positioning the controller behind the motherboard tray, with the cover lead passing through a grommet from the visible side and the SATA lead arriving separately from the supply. That single meeting point is usually the easiest spot to manage both connections at once.
🔀 Adding a third run for board sync
Anyone planning to use 5V 3-pin motherboard sync instead of the remote adds a third short lead from the controller to a board header, so that connection is worth accounting for at the same tracing stage rather than discovering it later once everything else is tied down.
🪢 When it is actually safe to tie anything down
Only once both paths, or all three if sync is planned, are confirmed and the cover sits in its final position should any ties go on. Doing that earlier risks a lead that will not reach once the real layout is settled.
🧰 Tracing alongside a wider lighting refresh
If this install is happening alongside fans or strips picked from a case lighting range, it is worth tracing every lighting-related lead in the build at the same time rather than one product at a time. A single pass through the whole case, noting where each controller, header and SATA connector actually is, tends to be far less frustrating than discovering a routing conflict halfway through tying one product's cables down and starting the process over for the next.
🗂️ Labelling leads during the tracing stage
Marking each lead with a small piece of tape and a short label while tracing its path, rather than trusting memory later, makes any future troubleshooting or rebuild considerably faster, particularly once several leads look visually identical once bundled together into a single tidy loom months down the line, by which point memory alone is rarely reliable enough to trust.
📋 A short checklist before the first tie goes on
Confirm the cover's final position, confirm the controller's position and its SATA source, confirm a board header path exists if sync is planned, and only then begin securing anything. Skipping a step on that list is the most common reason a finished loom needs partially undoing later.
Frequently Asked Questions
How many separate cable runs are actually involved here?
Two under normal use: one from the cover to the controller, and another from the controller to a SATA connector on the supply.
Which of the two runs is usually the tighter constraint?
Generally the cover-to-controller lead, since its fixed length decides how far the controller can realistically sit from the shell.
When is the right time to add cable ties?
Only after both paths are confirmed and the cover sits in its final position, so nothing needs cutting and redoing afterward.
Where do the two runs most commonly come together?
At the controller positioned behind the tray, with the cover lead arriving through a grommet and the SATA lead coming from the supply.
Is it fine to route both leads through the same channel?
They can share a channel provided each stays reachable, since the controller may need disconnecting again for later maintenance work.
Does choosing board sync add another run to trace?
Yes, it adds a connection to a board header, so a build using sync has a third short lead running from the controller.
What is the usual fix when a lead will not reach?
Repositioning the controller is the typical solution, which is exactly why tracing the paths should come before choosing its final spot.
Planning an Aurora Learn install before tying anything down?
Check Evetech's power supply range to confirm your SATA connection before routing either lead.