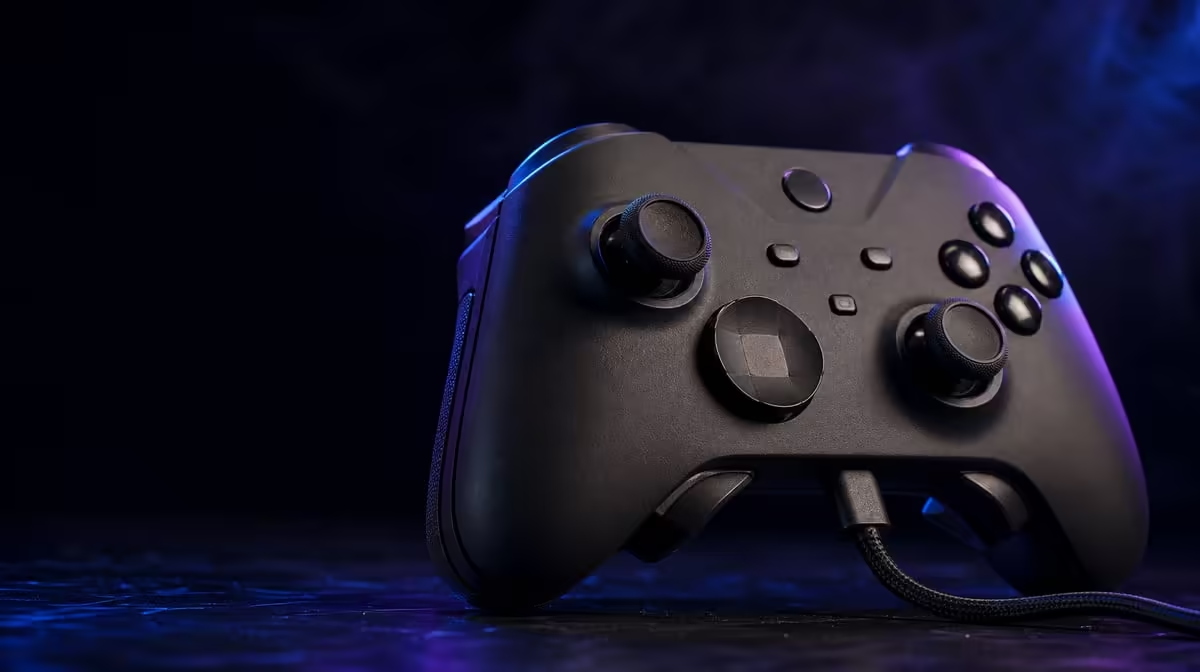
Magnetic sensors provide a useful starting point, but settings determine whether the player can read that advantage. A G7 HE Hall stick and trigger setup should establish centre and range first, then change one game curve at a time.
Quick Answer
Set up the R899 G7 HE by checking both Hall-stick centres and axes, then testing magnetic-trigger travel with default settings. Save the baseline before changing dead zones, sensitivity or response curves so hardware and software effects remain distinguishable.
🧲 Record stick centre
Connect the wired Xbox pad with comfortable cable slack. Open a suitable input screen and release both sticks.
Watch the reported centres, then move one axis at a time. Trace the perimeter and allow natural return.
Repeat for the second stick without copying the first result. Left and right tasks may differ.
Compare other layouts in Evetech's gaming controller category.
🎚️ Test trigger range
Press each magnetic trigger slowly from rest to full travel, pause and release.
Load the intended game at its default curve. Use a task that exposes partial input where the title supports it.
Do not invent percentages or trigger-stop features. Record observable behaviour only.
⚙️ Change one software setting
Save the original profile. Adjust one dead zone, sensitivity or curve, then repeat the exact baseline task.
Avoid remapping rear buttons during this pass. Assignment changes would add another variable.
Use ten repetitions and compare accuracy, correction and comfort. One successful attempt cannot prove the setting.
📝 Preserve the working state
Write down game, profile, stick result, trigger response and cable position.
Repeat after a faceplate change, impact or unexpected input. A saved standard shortens diagnosis.
Use Evetech's gaming accessories section and best sellers to check current setup pieces.
At R899, the magnetic controls deliver more value when their baseline survives future tuning.
Create a worksheet with centre, outer range, small correction, gradual trigger press and release. Record left and right separately. The worksheet turns a broad "feels responsive" judgement into steps that can be repeated.
Warm up before measuring but do not exhaust the hands. Five normal stick circles and trigger presses can settle the grip. Then place the pad on the same surface and begin from an untouched centre.
For small corrections, choose a static target and move towards it from several directions. Keep sensitivity unchanged. This reveals whether the player overshoots consistently without treating one miss as a sensor fault.
For trigger work, hold several partial positions where the game exposes them. Compare the on-screen response at each position. Release slowly and check whether the action returns predictably.
After a curve change, note both benefit and trade-off. A faster response may improve one action while reducing fine control elsewhere. Run the complete worksheet, not only the task that motivated the adjustment.
Add dual rumble in a separate pass. Vibration can disturb the fingers and sticks, so the baseline should first exist without that physical influence.
Rear-button profiles stay at default during analog tuning. Once the new curve is saved, restore the game mapping and run a complete play sequence.
Repeat the worksheet after transport or a magnetic faceplate swap. These events should not change sensing, yet the record confirms the controller returned to its known physical state.
Keep the final sheet short enough to use. A reliable five-minute test performed monthly is more valuable than an elaborate process abandoned after setup day.
Add a restore test once tuning is complete. Load another safe profile, then reproduce the chosen curve and dead zone from the note. A good setup should survive experimentation.
Run the worksheet with the wired cable in its final room route. Pull from a short lead can change the hands enough to distort small analog measurements.
Include a combined aim-and-trigger command after individual ranges pass. This reveals grip interaction during actual play.
Repeat the combined test with dual rumble active. Vibration may create extra finger pressure that does not appear in a quiet range display.
Store the working sheet beside rear maps, not inside them. Analog tuning and button assignments are separate layers and should be recoverable independently.
Create a default recovery profile and test it after the game restarts. Reproducible centre and curves matter more than one successful tuning session.
Use the same worksheet after a month to compare centre, small correction and gradual trigger travel.
Include cable slack and seated posture beside each result because physical setup changes fine control.
If another player uses the pad, restore the original analog profile afterwards rather than relying on memory.
The final R899 setup is complete when both sticks and triggers can be checked, tuned and returned to their known state.
Add a five-minute monthly retest and a longer review after any impact or unexpected movement.
Keep Hall-stick calibration and game curves on separate lines.
Store trigger observations by title because software use differs.
Restore default rear mappings before deep analog diagnosis.
Create a saved "known good" page with left centre, right centre, both trigger checks, game curve names and the date. Include the seated position and cable route so the physical baseline can be reproduced.
After tuning, perform one combined task: make a small aim correction while holding a partial trigger input, release both controls and watch their return. This reveals hand interaction without converting the observation into an unsupported precision figure.
Repeat the page after a game update and preserve the earlier copy. If response changes only inside that title, compare its curve before altering the controller-wide baseline.
Finish by loading the neutral profile and restoring the preferred map from the notes. A successful Build Lab setup is not merely tuned; it is recoverable by the player or another household user.
Frequently Asked Questions
Which control should be tested first?
Begin with untouched stick centre, then axes and trigger travel.
Why keep default settings initially?
They provide a reference before software curves or dead zones alter response.
Should both sticks share one result?
No. Record each stick separately because their game roles and observed behaviour can differ.
Can magnetic sensing fix a poor curve?
No. The sensor reports position, while the game or profile shapes response.
What is the setup price reference?
The GameSir G7 HE costs R899.
Ready to tune from evidence instead of memory?
Compare Evetech's gaming controllers and give the G7 HE a saved centre-and-range baseline before changing curves.