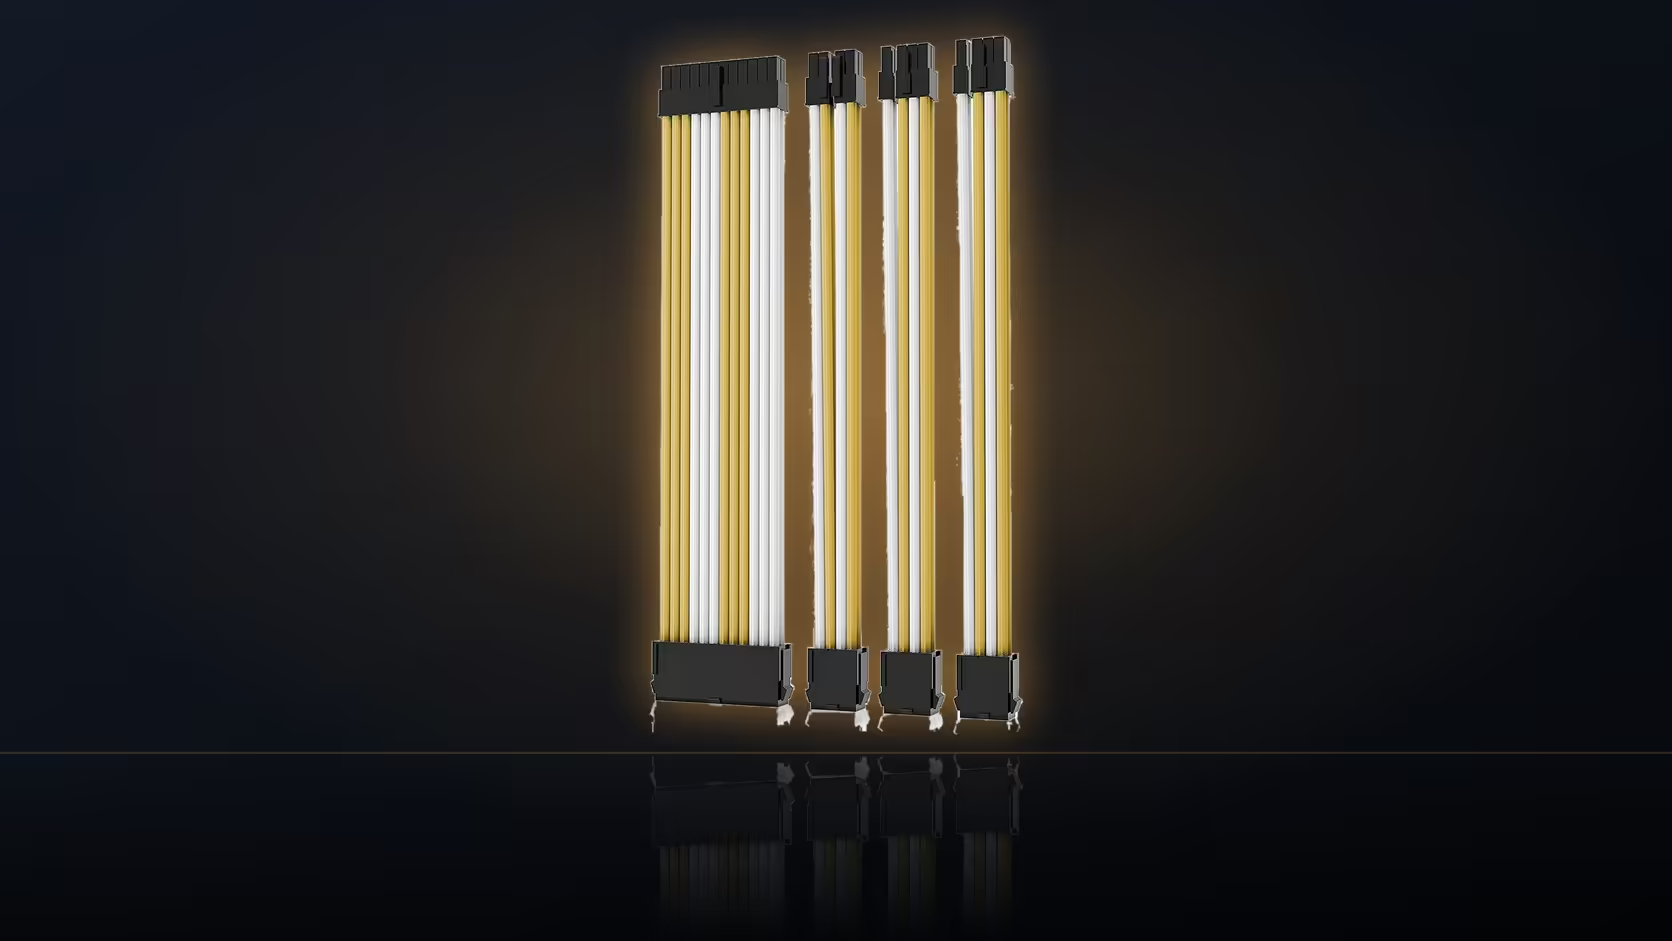
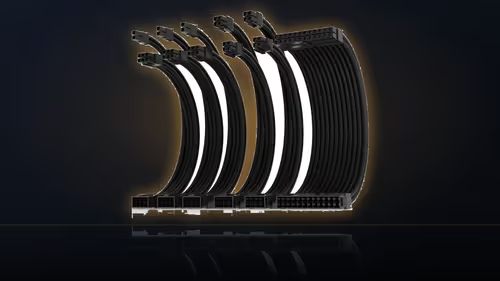
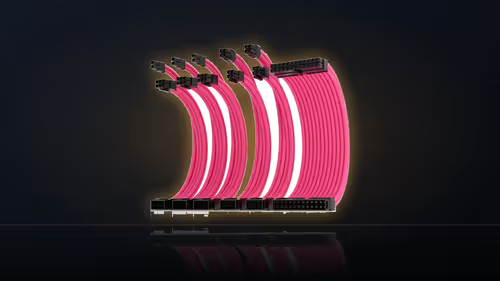
Stripping a build down before working out where the cable is actually going to sit is how a straightforward extension route turns into an afternoon of trial and error. Thirty centimetres sounds generous until you are holding a sleeved lead against a case and realising the join point matters as much as the length itself.
Quick Answer
Work out where 30cm of extra cable will sit before stripping the machine down. That length is added on top of the lead you already have. Measure from the join point to the socket, and you will know if the sleeved section reaches the window.
📏 What you are actually measuring
The number that matters is not the full 30cm rated for the extension - it is the distance from where you intend the join to sit to the socket the extension has to reach. That distance has to fall within 30cm for the sleeved section to cover the entire visible run without slack bunching up mid-route. Measure that specific gap before assuming the extension automatically reaches where you want it to.
🧭 Every lead needs its own check
This is not a single measurement done once and applied everywhere. The graphics socket sits well away from the tray cutout on most boards, while the CPU socket is up at the top edge - two very different distances, so each of the four leads in the kit needs its route measured on its own terms rather than assumed from the others.
🪢 Measuring the curve, not the straight line
A tape measure reads a straight line, which is not the path a cable actually takes once it is routed around a tray, through a grommet and up to a socket. A length of string laid along the intended route gives a far more honest reading, because it follows the same bends the cable will. Do the planning work with the side panel off, but keep the panel itself in mind while you measure - a route that fits with the case open can still press uncomfortably against a panel with little clearance once it goes back on.
🧩 When 30cm is not enough
If the measured route runs longer than 30cm, the join has to move closer to the socket to compensate, which usually means accepting it sits inside the visible chamber rather than tucked away behind the tray. The cable itself is a fixed assembly and cannot be shortened, so the only variable left to adjust is where the join sits and how gentle a curve the slack takes on its way to the socket. This step matters most on compact builds, where there is the least spare room to absorb any miscalculation - working out the route before disassembly on a small case avoids having to redo the whole job a second time.
🧺 Building a simple route map first
A quick sketch, even a rough one on paper, showing each of the four sockets and roughly where you intend each junction to sit saves a surprising amount of backtracking once the cables are actually loose on the bench. Number the four leads on your sketch and jot the measured distance next to each one, so the planning work you did with string and a ruler does not have to be repeated from memory halfway through the fitting job. A shelf of options sits at cable solutions if this particular kit's fixed 30cm length ever turns out to be the wrong fit for your case, and individually sleeved premium cables covers what a custom-length set would offer instead.
Frequently Asked Questions
What am I actually measuring?
The distance from where you want the join to sit to the socket it serves. That has to be within 30cm for the sleeved section to cover the whole visible run.
Does the measurement change per lead?
Yes. The card socket sits far from the tray cutout, while the CPU socket is at the top of the board, so each route needs its own check.
What if the run needs more than 30cm?
Then the join has to move closer to the socket, which usually means accepting it sits inside the chamber rather than tucked behind the tray.
Can I shorten the sleeved section instead?
No. The cable is a fixed assembly, so route the slack in a gentle curve rather than trying to reduce the length of the piece itself.
Should I measure with the panel on or off?
Off, but think about the panel. A cable that fits with the side open can still press against a panel that has little clearance behind the tray.
Is a tape measure enough for this?
A piece of string along the intended path is better, because it follows the curve. A tape measure reads a straight line the cable will never take.
Does this planning step matter on a small case?
More than anywhere else. Compact builds have the least room to absorb slack, so knowing the route before disassembly saves a second attempt.
Planning a cable route before you strip the build down?
Check Evetech's power supply range for extensions sized to the leads your case already exposes.