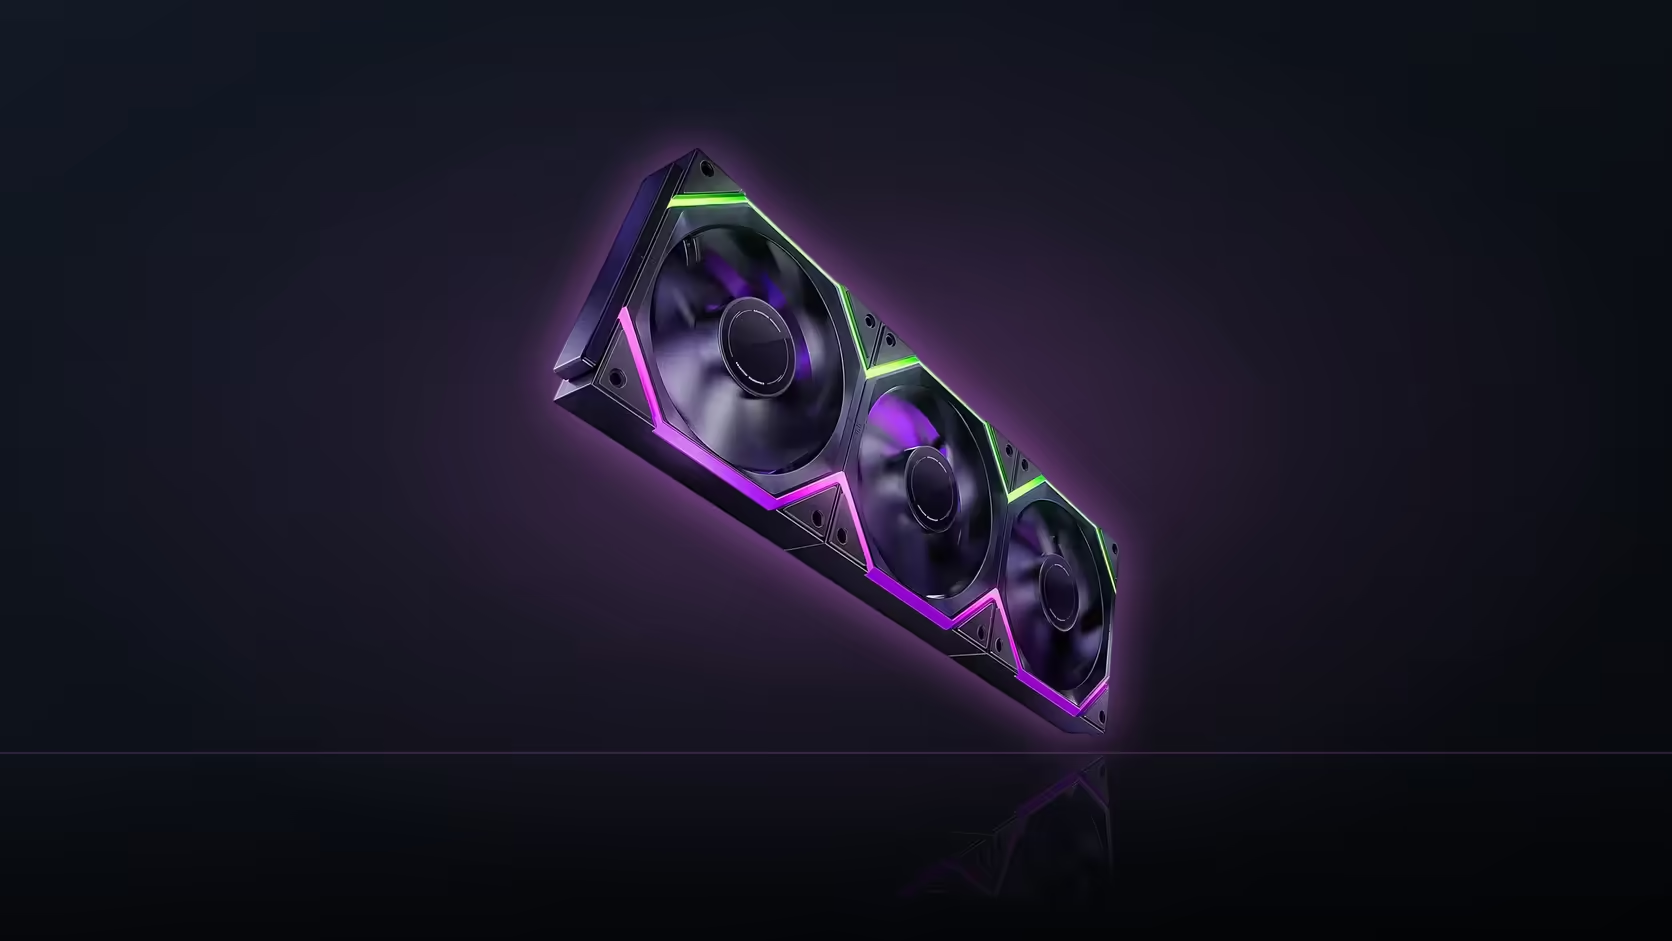
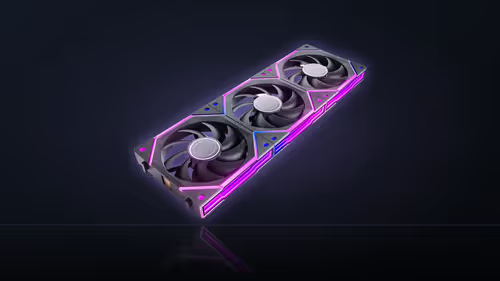
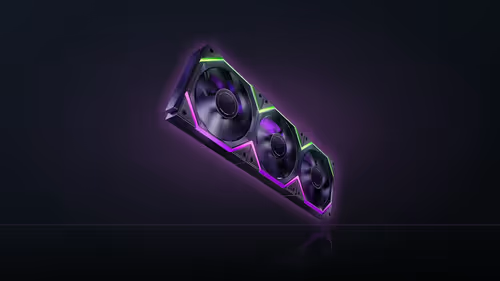
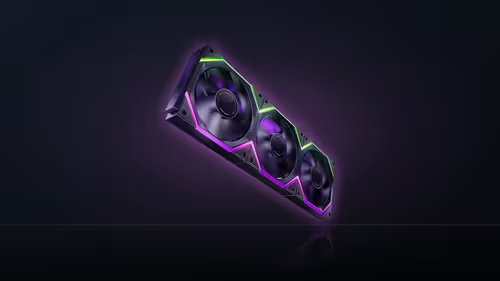
Dust behind a fan row is inevitable eventually, and how easily that row comes back out for a proper clean depends on decisions made when it first went in. The Nyota Pro's interlocked design moves as a single assembly rather than three separate fans, which changes what a cleaning session actually involves compared with a cabled alternative.
Quick Answer
Plan the Nyota Pro's cable routing so the single output run stays reachable without disturbing other components, since that connection is usually the access point needed before the row can be lifted out for cleaning. The three-pack, at R599 (VAT included), moves as one interlocked assembly rather than three separate fans, which makes removal simpler once the cable is free. Not every clean needs the row removed at all; surface dust can often be handled in place.
🧹 What usually needs to be reachable
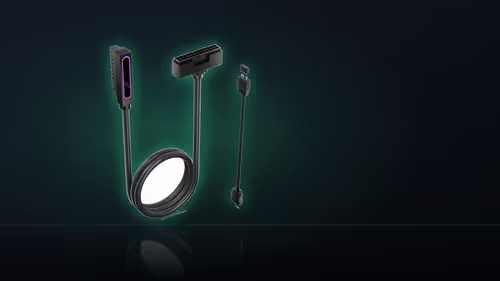
The output cable is the practical starting point for any deeper clean. If the row has to come out entirely, that connection is what links the assembled fans back to the board, and it needs to be accessible and unplugged before the row can be lifted clear without straining or damaging the run.
🌫️ Does the row actually need removing every time?
Often not. Surface dust sitting on the visible face of the fans can usually be cleared with a brush or compressed air without disturbing the mount at all. Removal becomes worthwhile for a deeper clean, or where a filter sits behind the row and needs attention of its own, which is a less frequent job for most builds.
🔩 Why the interlock changes the removal process
Because the three fans are physically joined, the row comes out and goes back in as a single piece rather than as three units that would otherwise need disconnecting one at a time. That can be an advantage: lifting one assembled row clear is generally simpler than working through three individual connections and mounts in sequence.
📍 Where the output cable should sit
Route it somewhere it can be reached and unplugged without first having to move other components out of the way. Getting this right at install time means a later clean does not turn into an unplanned cable-management exercise on top of the dust removal itself.
🔁 How often this actually comes up
That depends heavily on the room a build sits in. A front intake row sitting behind a dust filter will accumulate noticeably faster than an exhaust position further back in the case, so the cleaning interval is really a function of airflow direction and environment rather than anything specific to this fan model.
🪢 Cable ties and the removal step
Using reusable ties, or simply leaving a little slack in the run, avoids the situation where a clean turns into cutting and redoing cable management just to get the row loose. That small bit of planning at install time pays off every time the row needs to come out again.
🧴 What actually gets removed during a clean
Loose surface dust is the most common thing sitting on a front intake row, and a brush or a few short bursts of compressed air usually lifts most of it without needing to touch the mount at all. A deeper build-up, the kind that's compacted rather than loose, is more likely on a row that's gone unattended for a long stretch, and that's the scenario where lifting the assembly clear for a proper wipe-down actually pays off rather than just moving dust around in place.
Compressed air and an interlocked assembly
A short burst of compressed air works the same way on an interlocked row as on any other fan, though it's worth bracing the fan blades gently by hand while spraying to avoid spinning them well past their rated speed, which can happen briefly under a direct blast of air. That precaution applies whether the row is mounted or already removed for cleaning, and it's a small habit that costs nothing extra once it's routine.
🗓️ Building a rough cleaning interval into the plan
Rather than waiting for visible dust to prompt a clean, setting a rough interval from the outset - tied to how the room and case behave rather than a fixed calendar date - keeps the row from reaching the point where removal becomes necessary every time. A front intake behind a filter in a dusty room might warrant a look every few weeks, while an exhaust position further from the intake path can usually go considerably longer between checks.
For other 120mm options with different servicing approaches, Evetech's case fan range is worth a look, and fan controller hardware is relevant if the build also runs a hub-based lighting setup that needs factoring into the same cable plan.
Frequently Asked Questions
What connection usually needs to be reachable for cleaning?
The output run, if the row is coming out, since that links the assembled fans back to the board.
Does the row have to be removed for every clean?
No, surface dust can often be cleared in place, with removal reserved for deeper cleaning or filter access.
What makes removal different with an interlocked row?
The fans are physically joined, so the row comes out and goes back as one assembly rather than three separate units.
Is that an advantage when cleaning?
Generally yes, lifting one assembled row is simpler than disconnecting three individual fans one at a time.
Where should the output cable be routed?
Somewhere reachable without moving other components, so it can be unplugged before the row is lifted clear.
How often does a row like this need cleaning?
That depends on the room; front intake positions behind a filter accumulate dust faster than exhaust positions do.
Setting up a fan row you'll actually be able to clean later?
Browse Evetech's case fan range for options that suit your maintenance routine.