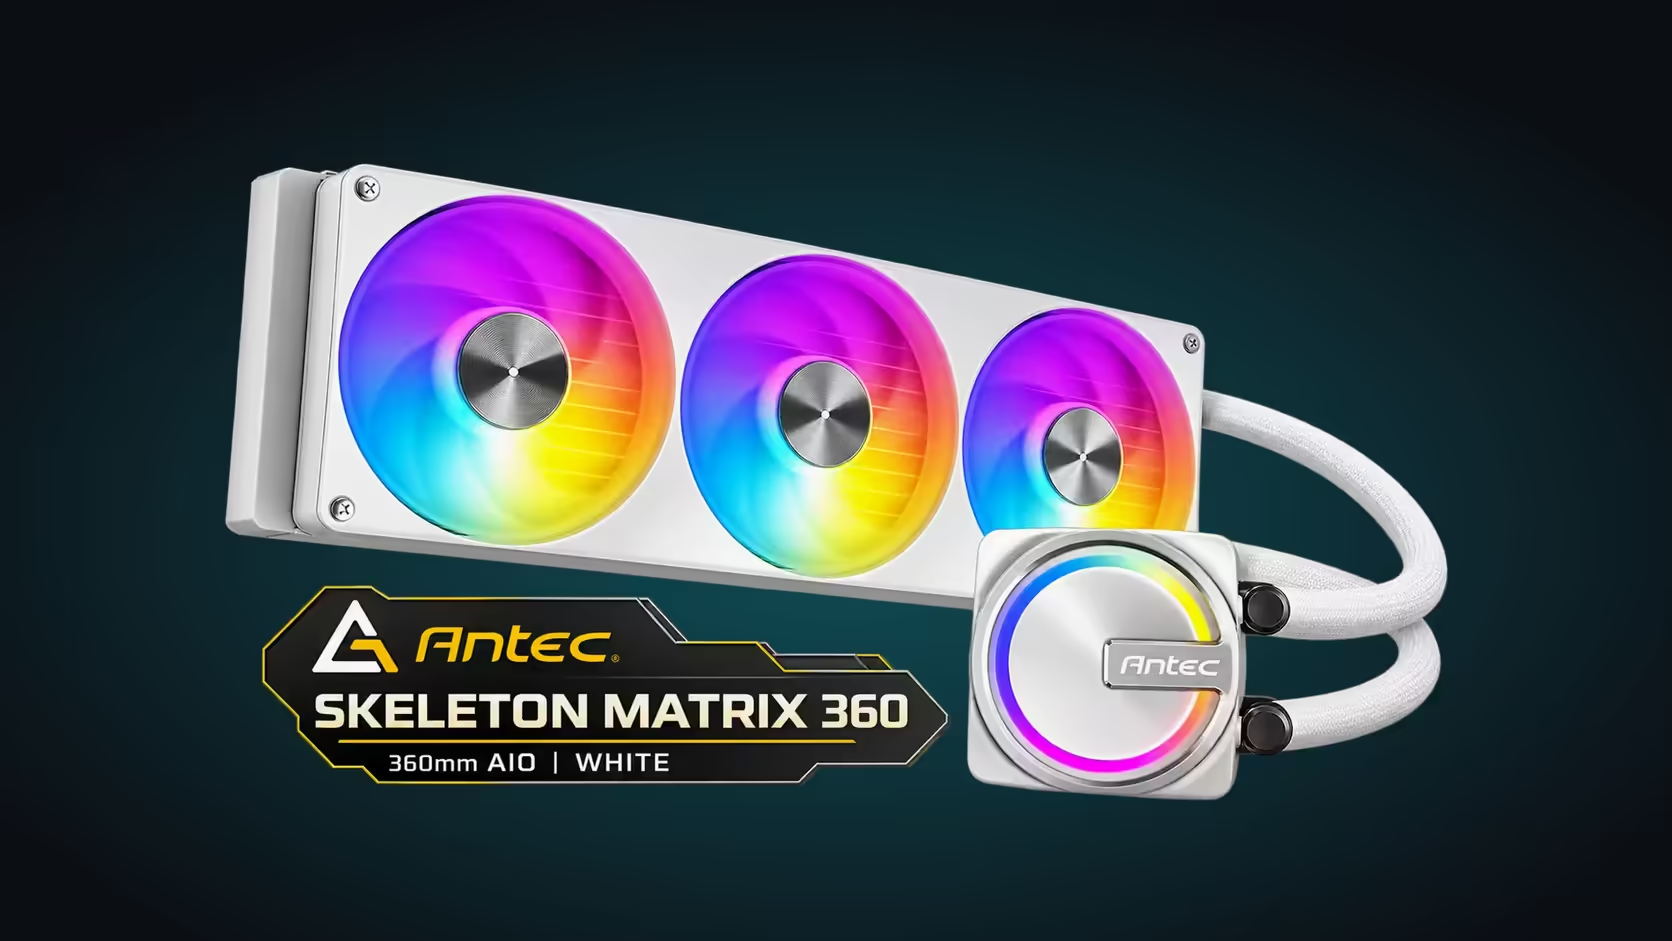
Connecting a single-frame PWM ARGB fan takes about ten minutes, and most of the mistakes happen in the first two. The fan is one assembly that sits across the 360mm radiator, so you mount it before you route any cable. Then you plug the two leads into the right headers, because a 5V ARGB lead in a 12V RGB socket is the classic way to damage an LED strip. This guide walks through the order that avoids both problems.
Quick Answer
Plug the fan's PWM lead into a 4-pin fan header and any ARGB lead into a 3-pin 5V ARGB header, never a 12V RGB socket. The Antec Skeleton Matrix 360 White fan runs from 800 to 2400RPM under PWM, and a single ARGB header drives the fan and pump as one group. The cooler costs R1,199 including VAT.
🔩 Mount the fan and radiator before any cable goes in
Fit the radiator to the case's 360mm mount first, with the fan on the outside of the radiator so the fan pulls air through the fins. Check the airflow direction arrows on the frame before you tighten anything. A fan that blows the wrong way will still run, but it pushes warm air back over the radiator and the processor gets hotter.
Tighten the mounting screws evenly, a little at a time, working across the frame rather than around one corner. Uneven pressure bends the frame, and a bent frame rubs the fan blades. Spin the fan by hand once it is fixed. It should turn freely without a scrape or a wobble.
🔌 Plug the PWM lead into a 4-pin fan header
A PWM fan uses a 4-pin header. The board reads the fourth pin as a control signal and sets the fan speed from its curve, so the fan needs to sit on a header that supports PWM control. Most boards label these headers with CPU_FAN or SYS_FAN, and the speed range of 800 to 2400RPM only works when the fan is on a PWM header.
If the cable set in your box has a separate PWM lead and ARGB lead, plug the PWM lead into a fan header and leave the ARGB lead for the next step. Route both leads along the radiator frame and tie them loosely so the fan can move freely. Keep them clear of the blades, because a lead caught in a spinning fan is a fast way to damage both.
🌈 Connect the ARGB lead to the 5V header
ARGB headers are 3-pin and run on 5V. The 12V RGB headers are 4-pin. The two look similar, and a 5V strip on a 12V socket can burn out its LEDs, so read the header label before you push the connector in. Most boards mark the ARGB header clearly, and the wiring diagram in the manual shows the pin order.
One ARGB header lights the fans and the pump together, so you do not need a second header for the cooler. Plug the lead in with the flat side aligned to the notch, then check that the connector sits fully seated. A half-seated ARGB plug is the usual reason a fan stays dark.
The pump itself goes on the AIO pump header, often labelled AIO_PUMP, which is separate from the fan header. Plugging the pump into a case fan header can leave it running too slowly to move coolant at its rated 2800RPM.
🧪 Test the fan before you close the case
Power on and open BIOS. Look for the fan's entry in the fan control page and confirm it reads a live speed. Then set the fan to a fixed speed for a moment, watch the reading change, and return it to its default curve. A fan that shows 0RPM on a PWM header is usually on the wrong header, or the connector is not fully seated.
Run a short load test before you close the side panel, then recheck the connectors once the case is open and the cables are routed. A loose lead can slip off the header during the first cable tidy, so check it again rather than trusting the first test.
For a clean install, keep the CPU coolers category open while you match the cooler to the rest of the build, and the case fans category if you need a spare. Checking the mount and the headers before you buy saves a second trip to the fan settings later.
🛠️ Routing and cable tidy in a small case
Cable routing is where most builds lose time. The radiator body is roughly 27mm deep and carries the fan on its outer face, so in many cases the fan lead runs within a few centimetres of the board's edge. A lead that looks fine on the bench can catch that edge once the side panel goes on. Run the leads behind the tray where the case allows, and keep a loose loop at the fan end so the frame can move a little as you tighten.
In a compact case, the lead from the fan may need to run past the graphics card or a large RAM heatsink. Measure that path before the cooler is in place, because a short lead forces the fan to sit crooked. Use the case's cable tie points and keep the leads off the fins of the radiator, since fin contact can bend the fins and cut airflow.
Frequently Asked Questions
Which header does the PWM lead go into?
Use a 4-pin fan header that supports PWM control. Most boards label these as CPU_FAN or SYS_FAN, and a fan on a non-PWM header will not follow its curve.
Can I plug the ARGB lead into a 12V RGB header?
No. ARGB is 5V and uses a 3-pin header, while 12V RGB is 4-pin. Plugging a 5V strip into a 12V socket can damage the LEDs, so match the header to the connector.
Why does my fan show 0RPM after installation?
Check that the lead is fully seated on a PWM fan header. If the fan is on the wrong header or the connector is loose, it will not report a speed in BIOS.
Does one ARGB header light both the fans and the pump?
Yes. The Skeleton Matrix 360 White uses a single ARGB header for the fans and pump together, so you only need one ARGB connection for the lighting.
Ready to match a cooler to your board?
Browse Evetech's case fans and CPU cooler range, and check the headers on your motherboard before you order.