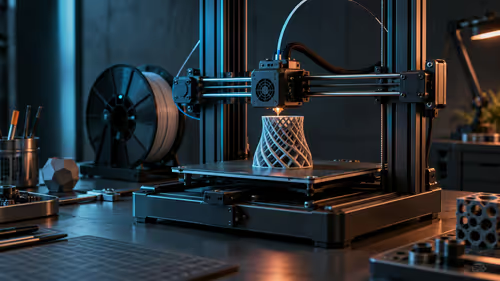
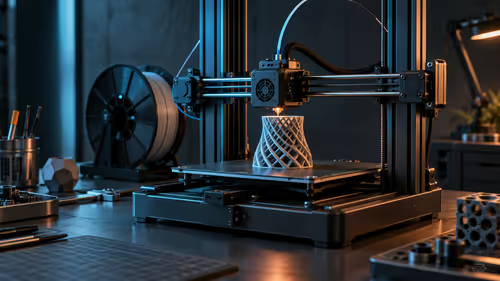
Pairing a camera with a calibration routine sounds like doubling up on the same exact job, until you notice one watches the print as it happens and the other prepares the machine before a single layer even goes down. AI camera and auto calibration features actually solve opposite halves of one larger reliability problem.
Quick Answer
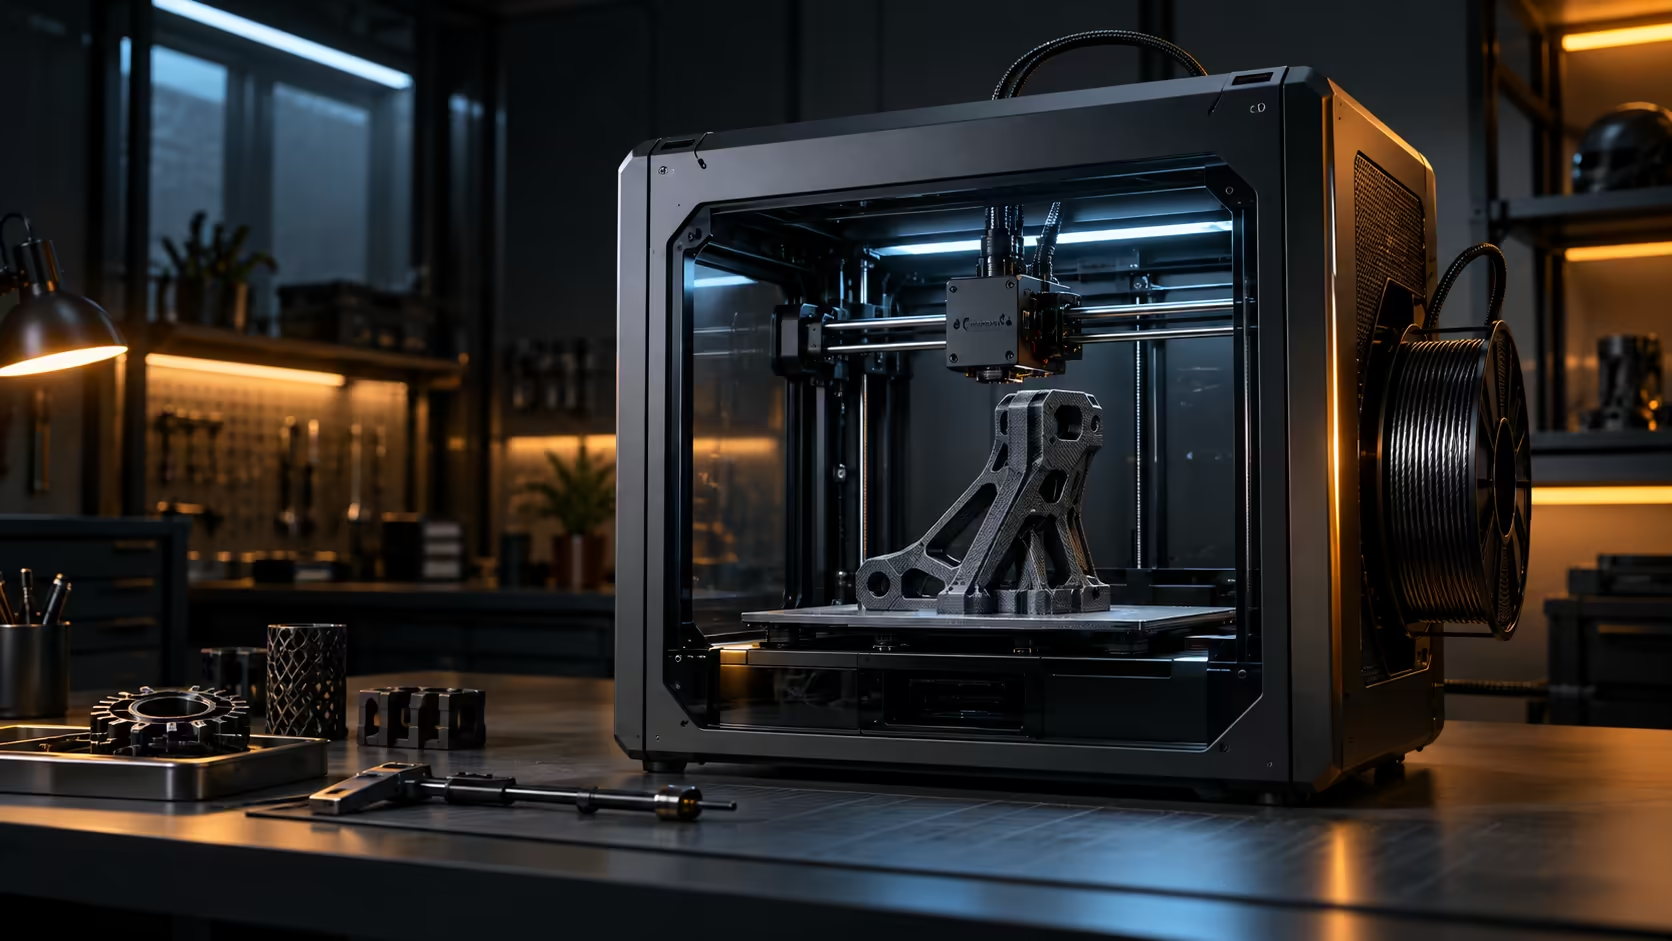
They cover different stages entirely: a camera reports what is going wrong once a job is already running, while calibration measures the plate and adjusts flow before that job ever starts. The Creality K1C carries an AI camera watching for failures like loose parts and stray plastic, and its auto calibration handles levelling hands-free, both for R12,599. Check any specific printer's full feature list for how each one is actually implemented before assuming every machine pairs them the same way.
📷 What the camera half is actually solving
Once a print is underway, the failures worth catching are the ones that develop over time: a part working loose, filament tangling into a mass instead of building the model, or debris interfering with the nozzle. A camera watching for these specific, visually obvious problems catches them within 1 or 2 minutes rather than leaving them to run for the full 10 to 14 hours a job was scheduled to take.
This half of the pairing is entirely about ongoing monitoring, and it has nothing to do with how the print started out.
🧭 What auto calibration solves before printing even starts
On the K1C, auto calibration handles levelling hands-free, taking the corner-by-corner screw adjustment out of the process entirely. That single step addresses a completely different failure point than the camera does: a first layer that never had a fair chance because the bed itself was not properly measured beforehand.
🔗 Why the pairing works better than either alone
A machine with only monitoring but no automatic levelling still requires manual bed preparation before every print, leaving room for the exact kind of first-layer failure the camera cannot help with once the print is already committed to a bad start. A machine with only levelling but no ongoing monitoring can start perfectly and still fail unnoticed hours later from an unrelated cause. Together, they cover the beginning and the middle of a print's failure timeline.
Check a specific model's documented feature set for how deeply each capability is implemented, since marketing language sometimes groups features together loosely. Browse filament that extrudes consistently to give both systems the best chance of a clean result, and consider a webcam accessory for an additional monitoring angle in a busier workshop setup.
Frequently Asked Questions
Does auto calibration remove the need to ever check the bed manually?
It significantly reduces the need, though an occasional manual glance, especially early on with a new machine, is still a reasonable habit.
Can the camera detect a first-layer problem before it gets worse?
Its main strength is later-stage failures; first-layer specific checks are generally handled separately by levelling and bed-scanning systems instead.
Is auto calibration the same across every printer that offers it?
No, implementation varies significantly between manufacturers, so check the specific process a given model uses rather than assuming they all work identically.
Should both features be considered essential when buying a new printer?
They address different, real failure points, so having both gives more complete coverage than either feature alone would provide.
Where should I check whether a specific model actually offers both?
Compare the listing directly against the rest of the 3D printer range rather than assuming a machine advertised broadly as "AI-enabled" automatically includes both first-layer levelling and ongoing monitoring, since the two capabilities are sometimes sold quite separately even under one shared marketing label.
Confused about how these two features actually work together?
Match each one to the stage of the print it is designed to protect.