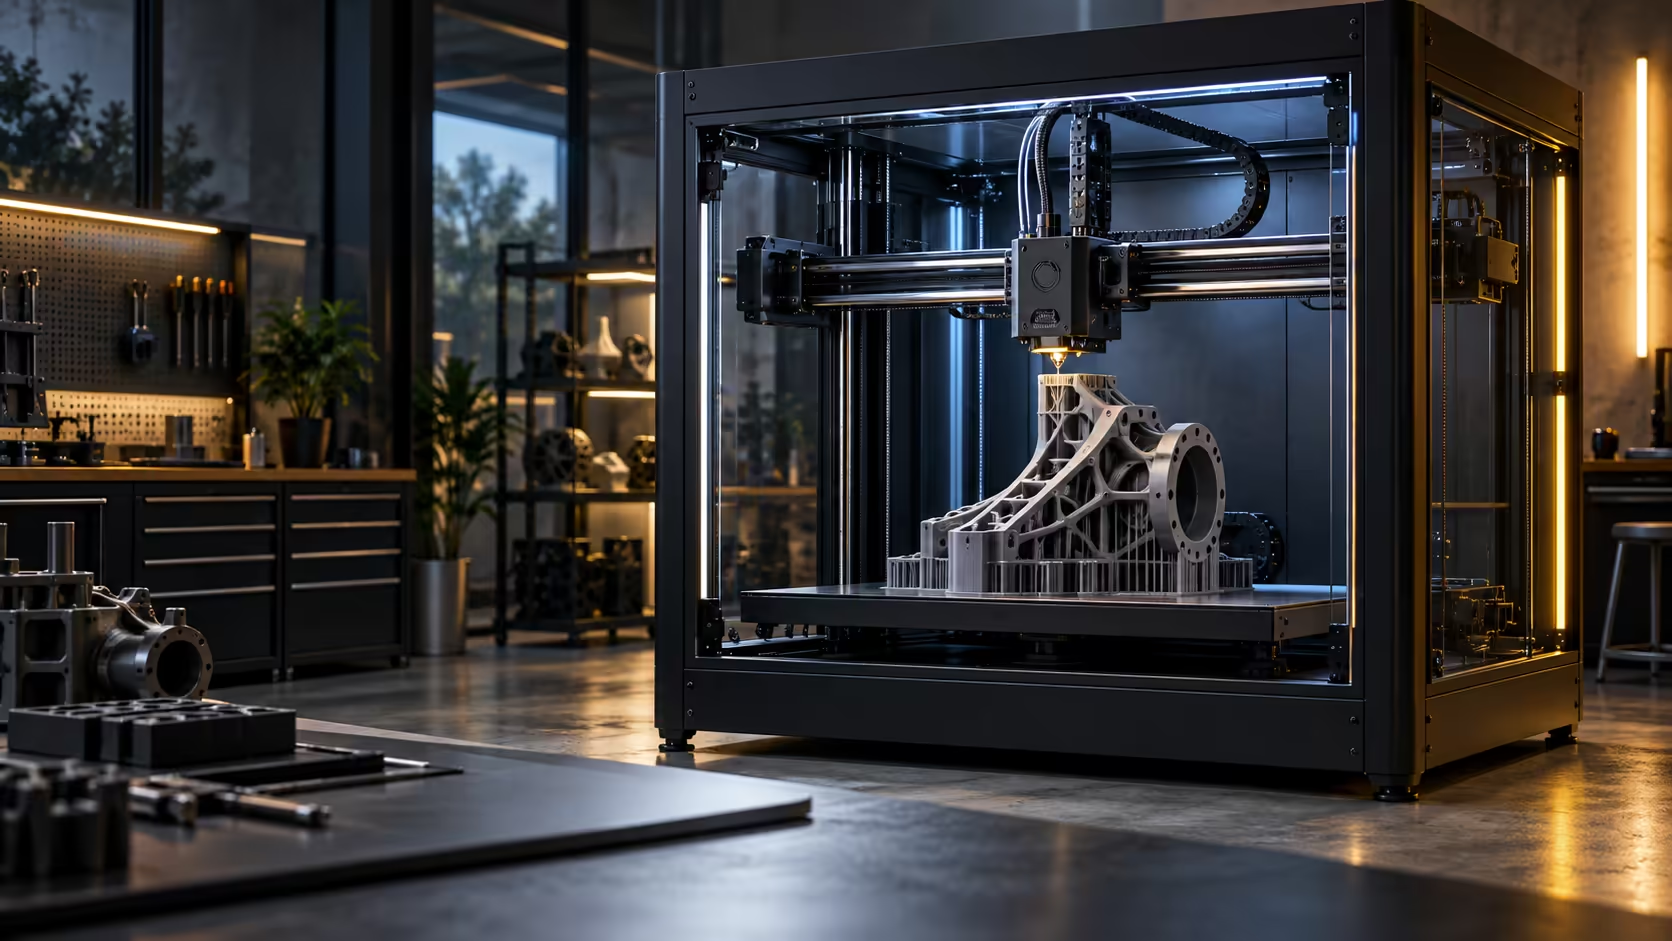
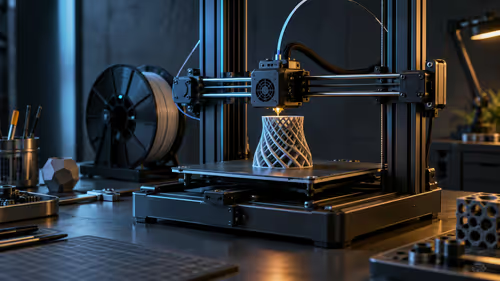
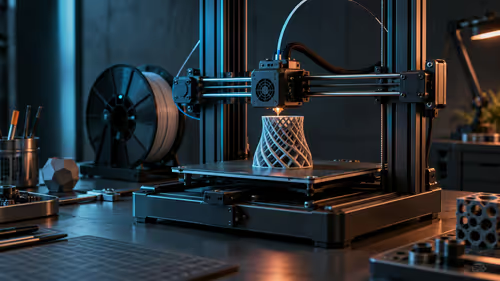
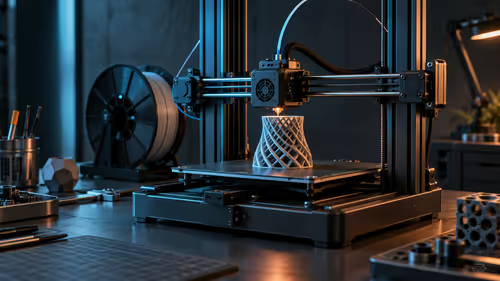
A CoreXY frame moving at 600mm/s changes how you should be prototyping, not just how fast one part finishes. Instead of running a single design overnight and checking it in the morning, a large CoreXY 3D printer with a 300 x 300mm plate lets you queue three or four revisions of the same bracket side by side and judge them all after one job. The Creality K1 Max does this at R13,999, and the workflow around the machine matters as much as the machine itself.
Quick Answer
Bolt the printer to a rigid bench, run the LiDAR levelling pass at printing temperature, and print a 20mm calibration cube before anything real. Once that clears, stop printing one prototype at a time: place several small design variants together on the 300 x 300mm plate so one job settles a whole round of testing instead of one part. At R13,999 the K1 Max is priced to run that way every day rather than being babied through a single showpiece print.
🛠️ Bolt it down before the first calibration pass
Weight and stiffness come before any setting. A CoreXY throws its toolhead back and forth hundreds of times a minute, and a bench that flexes even slightly turns that motion into faint ripples on every wall of every print you make afterwards, prototypes included.
Once the printer is sitting still, run the levelling pass with the bed and nozzle already at printing temperature, because a cold plate reads differently to the sensor than a hot one and the mesh it builds will be wrong for the print that follows. Then print a plain 20mm cube and check three things: the first layer squashed evenly on all sides, corners free of ringing, and the finished dimension within about 0.2mm of the model. Only once that cube is clean does a setting change on a real part mean anything.
🧩 Batch design revisions instead of queuing them one after another
This is the actual advantage of a large plate for prototyping, and most people never use it. Four 70mm test parts fit comfortably in the four quadrants of a 300 x 300mm bed with room to spare, which turns four separate 40-minute jobs run back to back into one 90-minute job that answers the same question.
Label each variant in the slicer as its own object rather than merging the file, so a failure in one corner does not force you to reprint the other three. The AI camera on the K1 Max watches the whole plate for the failures that matter, plastic in open air rather than on the model, so a ruined corner gets flagged without needing someone standing over the machine.
⚙️ Print prototypes coarse, finals fine
Early iterations do not need your best settings, they need speed and honesty about fit. A 0.28mm layer height at 30 to 40 percent infill will tell you whether a bracket clears a bolt hole or a snap-fit clicks shut, and it does that in a fraction of the time a 0.12mm final layer takes.
Save the fine settings, thin walls, high infill and a slower outer perimeter, for the design you have already tested twice. Printing every revision at final quality is the single biggest reason prototyping feels slow on a machine that is capable of the opposite.
📦 Set up the bench so the next revision starts fast
A sturdy desk or workbench next to the printer keeps a laptop, callipers and the next spool within reach, which matters more than it sounds once you are running several jobs a day. Store filament sealed between prints; a spool left open on the bench absorbs moisture over a week of testing and starts producing the fine surface popping that gets blamed on the machine instead of the material. The full 3D printer range is worth a look if a second machine ever makes sense for running production alongside prototyping.
Frequently Asked Questions
How many prototypes can I print in one job on a 300mm plate?
Comfortably four at 70mm each, more if the parts are smaller or you accept tighter spacing between them.
Should a first draft and a final part use the same settings?
No. Print drafts at a coarse layer height and lower infill for speed, then switch to fine settings once the design is confirmed.
Does the AI camera stop the whole job if one prototype fails?
It flags failures such as loose plastic in open air; the other objects on the plate keep printing unless you intervene.
Do I need to re-level the bed for every job?
Not every job, but re-run it whenever the bed is disturbed or after moving the printer, since a fresh mesh at printing temperature is what keeps the first layer honest.
Ready to speed up how many designs you test per week?
Set up the bench once properly, then let a large plate carry several prototypes through a single job.